Gaining root access unlock the door of an Android device towards customization and modification. You get system file access of your device as you become a superuser. Once you root your phone, you will be able to install Custom Recoveries like TWRP with which you can try out some custom build ROMs and MODs. XDA developer forum is the big source of Custom ROMs, MODs, Themes, etc., handled by many developers. Most of their Applications need root access. So, in order to get the full benefit of the developer community, you must root your device and install a Custom Recovery like TWRP. In this guide, you will be able to learn how to root Xiaomi Mi A2 and install TWRP recovery on it.

Xiaomi Mi A2 is the successor of Mi A1. Like Mi A1, this device comes with stock Android too. Those who prefer pure Android over Xiaomi’s Chinese MIUI skin, show go for Mi A2 over other devices from Xiaomi.
Anyway, come back to the topic, and proceed with rooting this phone. After rooting, you will be able to install TWRP image file to get the recovery installed. This recovery will not only help in installing Custom ROM but also gives some option to create a full backup of a device. In case anything goes wrong, you can simply restore the backup and get your device life back.
Xiaomi Mi A2 TWRP Recovery
Download the supported TWRP Custom Recovery for Xiaomi Mi A2 from the link below. Special thanks to TingyiChen, the developer behind this recovery.
- Download: TWRP-3.2.3-jasmine-20180804.img
Root Xiaomi Mi A2
For rooting, we will be using Magisk Systemless root utility. The latest version is 16.7 right now, and you can download from the link below.
[mks_button size=”medium” title=”Download Magisk ZIP” style=”squared” url=”https://droidfeats.com/download-magisk-zip/” target=”_blank” bg_color=”#1e73be” txt_color=”#FFFFFF” icon=”fa-download” icon_type=”fa” nofollow=”0″]
Pre-requisite
- Make sure your phone has at least 80 – 85% charge. If not, please do charge it before starting the experiment.
- You need to enable USB Debugging mode to connect your Android phone to computer. (Settings > About Phone > Build number > Tap it 7 times to become developer; Settings > Developer Options > USB Debugging).
- Your bootloader must be unlocked from before to root Mi A2. If not, please do that first, then get back to our tutorial.
- You must install Android SDK tool on your computer.
- Also, enable OEM Unlocking in Developer Options which may need while flashing an image file.
- Install Xiaomi Mi A2 driver on your computer.
- Download DM verity disabler which will require later in this tutorial.
But before starting the tutorial, we suggest you to backup your important documents from the device and make a copy of it to your computer. On performing our experiment, your device will get wiped, and you will lose everything from the phone. We don’t want that. in that case, we have a list of Application that may help you on creating backup within the phone. Later on, you can copy the files to computer for a safe side.
→ Top 10 Best Android Backup Apps – Secure your Data
Once you are sure that you are done with the backup stuff, please proceed to the tutorial below on How to Root Xiaomi Mi A2 quickly.
How to root Xiaomi Mi A2 and Install TWRP
We have mentioned the full step-by-step instructions on How to root Xiaomi Mi A2 using Magisk tool and install TWRP Custom recovery. If you are entirely new to rooting, flashing a Custom ROM or an Official Firmware, please read the entire tutorial once before actually performing it on your device.
Tutorial: How to install TWRP on Xiaomi Mi A2
- Download all the required files from the above-given links to your device. Also, keep a copy of the TWRP image file on your computer.
- Connect your phone to the computer using compatible USB cable (preferably, the official one, provided by Xiaomi with the phone box).
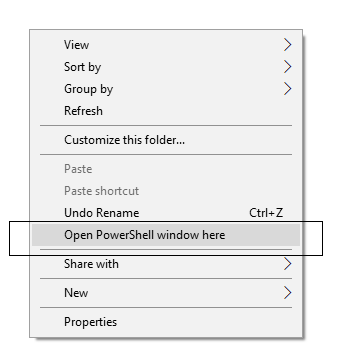
- Open Command Prompt on the same directory as TWRP file. Press the SHIFT key and right-click on an empty space. Select “Open PowerShell window here” or “Open command window here” from the pop-up menu.
- On the PowerShell Window, type the following command and HIT enter:
adb reboot bootloader
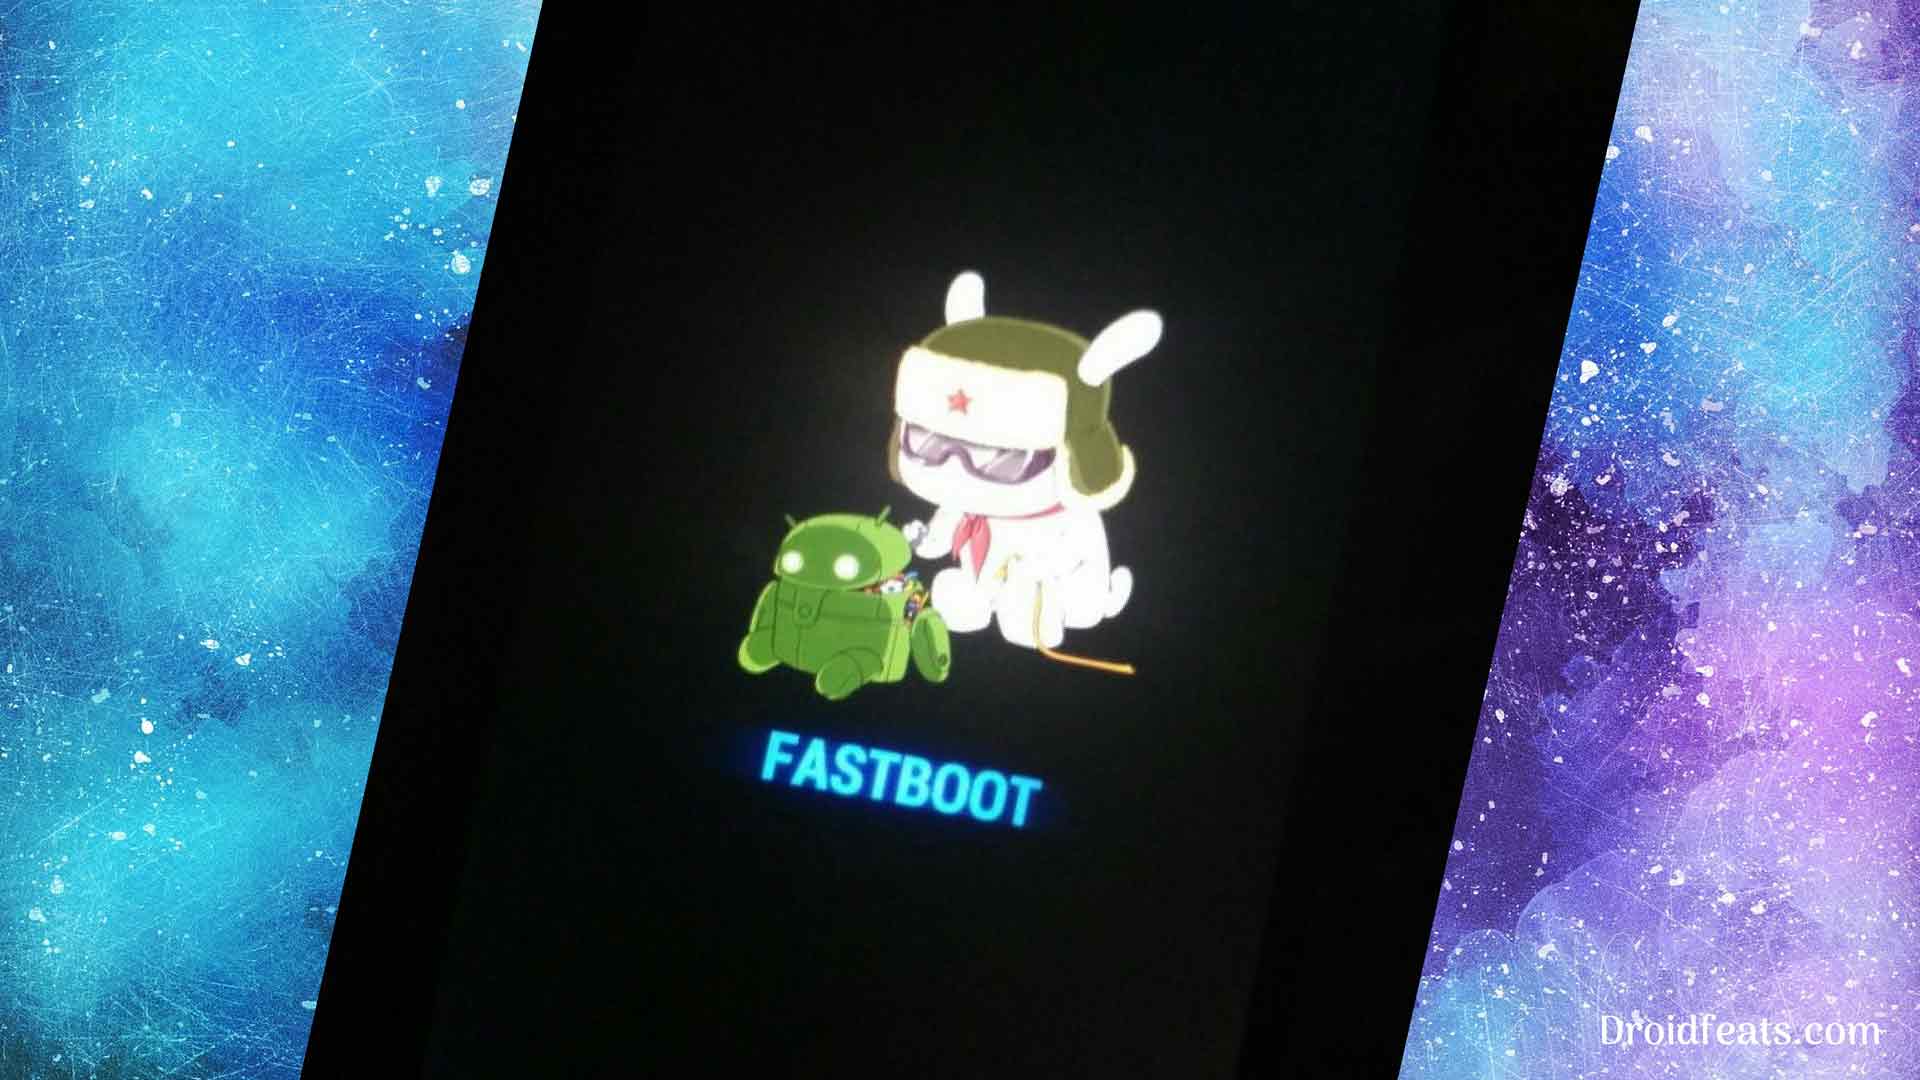
(This will reboot the device into fastboot/bootloader mode.)
└ If you get a permission pop-up on your device to “Allow USB debugging”, tap OK.
- Once you are in the fastboot mode, type the following command and HIT enter:
fastboot flash boot_b TWRP-3.2.3-jasmine-20180804.img
(The command ends with the file name. If the file name changes in a newer version, type “fastboot flash boot_b <your-changed-name here.img”)
- Set the B partition as the active partition by using the following command:
fastboot set_active b
- Once the file is flashed, reboot your device! Carefully hold the Volume Up button now. While holding, type the following command and HIT enter to reboot into TWRP recovery.
fastboot reboot
- TWRP Recovery: In order to reboot into recovery mode, use Volume rockers to select “Recovery mode” option and press Power button to select. You will get access to TWRP.
- You will be asked to enter your device Password/PIN/Pattern. Enter it to let system decrypt in recovery mode. If you don’t have any password, it won’t ask.
⌊ To change language from Chinese to English, use this guide. - Now, go back to main menu (TWRP Home) and tap on “Install” button. From the list, choose the DM verity disabler ZIP file that you have copied in Step 1. This step will prevent your device from boot-looping.
So, you are done here! No further steps are required for TWRP image file.
Activate Slot A
Go to main menu (TWRP home). Then, Reboot > and Activate slot A now!
Tutorial: How to root Xiaomi Mi A2
There are two methods to root Xiaomi A2 using Magisk:
- Flash the Magisk ZIP using TWRP recovery.
- Patch the stock boot image of your current firmware and flash it using fastboot.
However, the second method is not recommended for novice users since it is quite tricky. You need to familiarize with the steps before you proceed with it. Both methods are described in our detailed tutorial below:
→ How to install Magisk to root Android devices – Universal Systemless Interface
Once you are done with everything, reboot your phone to the system, and verify root status using this Root Checker App.
Interested on Google Camera port on Xiaomi Mi A2? You need to enable Camera2 API and install the port APK manually. Check out the following guide:
So you are done with this tutorial! You had successfully rooted Xiaomi Mi A2 and installed TWRP using our guide. If you faced any problem with performing this tutorial, please let us know by dropping a comment below. Our team will reply you back as soon as possible.
Is this post helpful? Please do share it on Social Media to THANK US.


![Download Redmi 15 GCam Port [Most Compatible Version] Download Redmi 15 GCam Port [Most Compatible Version]](https://static.droidfeats.com/wp-content/uploads/2025/08/Redmi-15-450x213.webp)
![Download Redmi 9a GCam Port [Most Compatible Version] Download Redmi 9a GCam Port [Most Compatible Version]](https://static.droidfeats.com/wp-content/uploads/2025/03/Redmi-9a-GCam-Port-sample-450x245.webp)
![Download Redmi 9 GCam Port [Most Compatible Version] Download Redmi 9 GCam Port [Most Compatible Version]](https://static.droidfeats.com/wp-content/uploads/2025/02/Redmi-9-GCam-Port-450x245.webp)
4 Comments
This method does not work on my phone Xiaomi A2 Lite. After flashing recovery phone does not get switched on.
I forgot to do step one, is there any way to move the zip file onto the device using the PowerShell??? Or any way to fix this constant boot loading, please help
I messed up the first step, is there any way to move the zip file onto the internal storage through PowerShell or any other means, I am stuck in boot looping
You forgot step 1, but there is no zip file for the first step. It’s about image file. Can you please clarify the problem?