These are called Facebook avatars and one of the latest features offered by Facebook Inc in 2020. The update has been rolling out for several days, but from the second half of May, it has become much easier to activate them. The source of inspiration is quite clear: the Memoji of Apple and Samsung custom emoji.
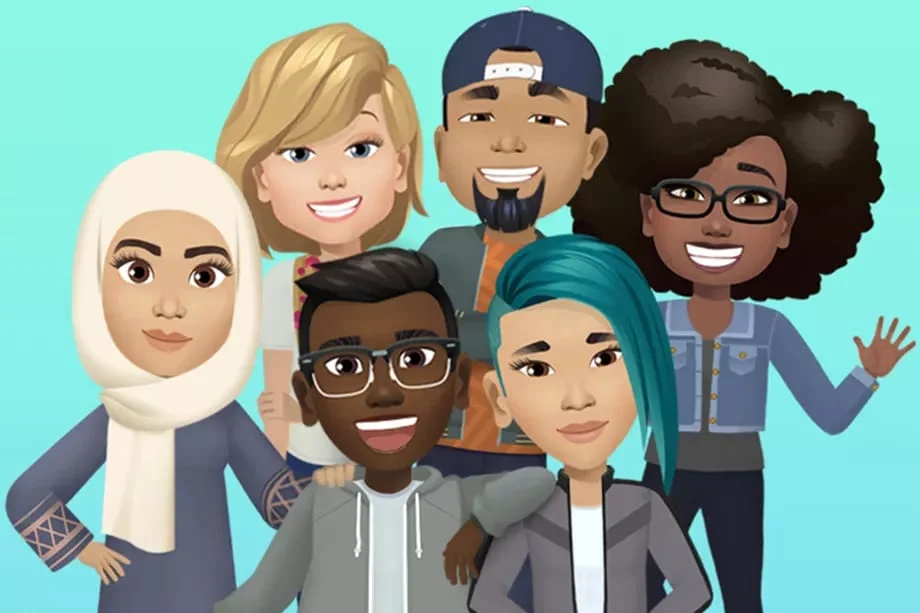
The concept is very simple: with a guided procedure, you can create a particularly large sticker package inspired by your face and body’s lines. Inside the editor, there is even the mirror mode to ensure you have not left out any detail. But how to activate? Read ahead!
How to activate Facebook personalized stickers
The functionality is currently in the rollout phase and you won’t get it automatically from Facebook or Messenger. However, there is a procedure suggested by a Facebook team member that could help. The new procedure recommends going to Facebook or Messenger and commenting on a post or exchanging messages with someone.
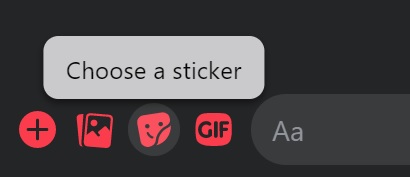
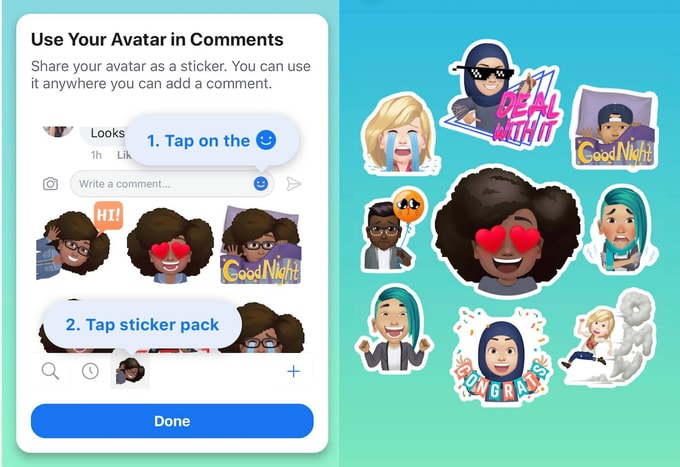
Step 1: In the text composition field, press the Smile- shaped button to insert emojis or Sticker. The new section should appear in the Sticker section, characterized by a purple symbol with an open mouth.
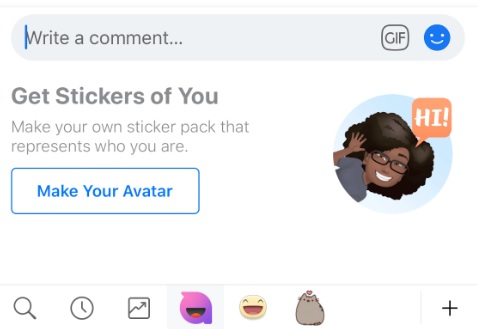
Step 2: By pressing it, you will get the Create Your Avatar button. Press to enter the avatar creation editor. Below we also explain how to use the avatar creation editor and set them as profile photos.
Force procedure
There is another way to force the procedure which worked in our case. This procedure seems to work only on Android at this moment. However, this innovation will also arrive on iOS. In some cases, it is necessary to update the Android app to allow the correct functioning of the new Facebook Avatars.
[rb_related title=”You May Also Like” total=”4″]Step 1: First, you need to find a post that contains one of the new Facebook Avatars. You can find some of them here, on our Facebook page (but first you need to like us). As soon as you find one, try to tap on it. A single, simple tap, no long press. At this point, if all goes well, you should get this screen:

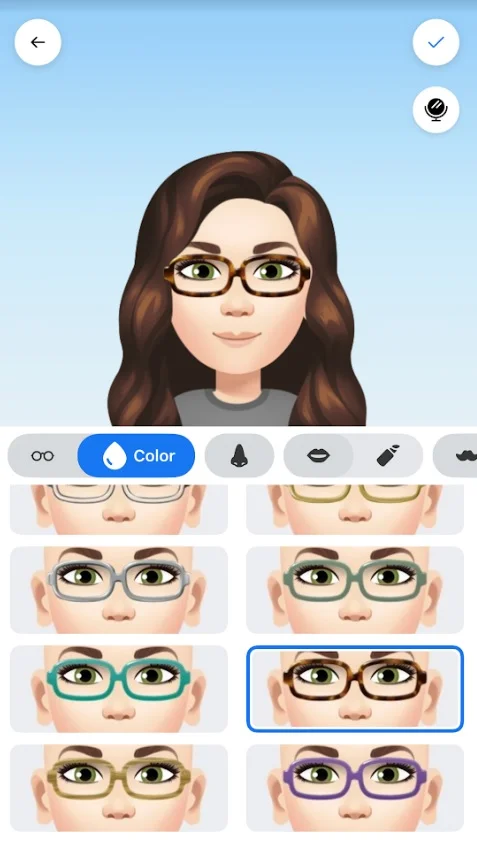
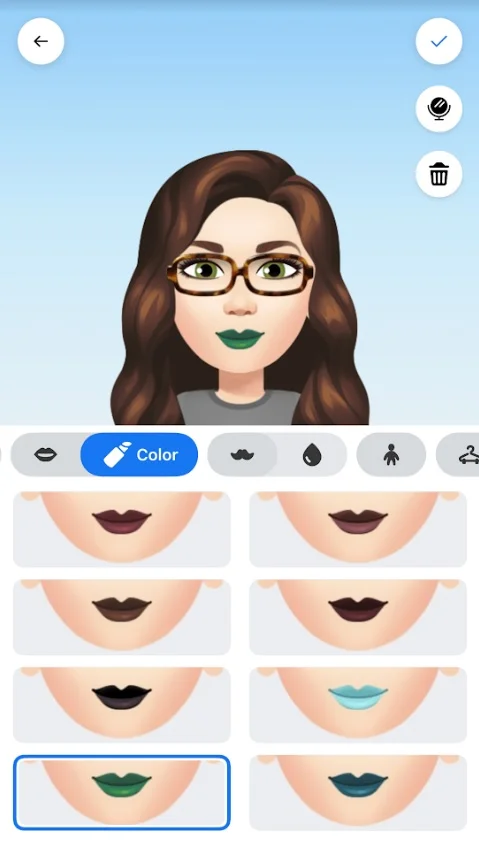
Step 2: Just press Go to the editor to start creating your own personalized stickers package. Another couple of screens and you enter the real editor. To begin with, specify one thing: Facebook does not require your biometric data (such as photos, 3D scans of the face, or the like). The editor is based on the choices you make around a stylized model, on the wrong line of a Nintendo Mii, just to give an example.
Step 3: First, you need to choose your complexion. Slowly, by sliding the appropriate bar, you will enhance your Avatar with more and more details: hair, eyebrows, nose, mouth, and so on. All very simple and straightforward, and to help you, there is also the mirror functionality. There is a mirror-shaped button in the upper right corner which will request access to your front camera when pressed.
Step 4: Once you are satisfied with the result, simply press the confirmation button at the top right, and you’re done! Now you can use the stickers in the comments of Facebook posts or even on Messenger. Once created, they also work from the browser version of the social network, even from a PC. And rest assured: if you are not satisfied you can change them at any time. Just go to a post, press on the stickers, select the Facebook Avatars, and press on the word Change Avatar that you find at the top.
Among other things, it must be admitted that Facebook generates several, each personalized with reproductions of mainly used emojis, meme-style scenes, and much more. And will probably increase in number in the coming weeks. What do you think? You like them?
Method #2: from the Facebook settings
Another method would be to go to Facebook Settings.
Step 1: Open the Facebook app and press the button at the top right with the three horizontal lines that bring you to the Facebook Settings menu.
Here you should see a series of boxes with some of the main sections of the social network. Among these, there could also be the box dedicated to the Avatars. If there is no such option, scroll down and click on See More.
- Avatars may appear on the list, as in the screenshot below.
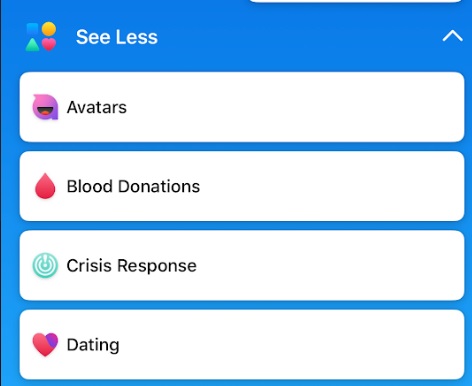
Pressing on Avatars will open the editor for creating personalized stickers. If you have already created them, the interface for managing them will open.
How to set Avatar as a profile photo
You may have seen some users who set their brand new avatars as their profile picture. How to do that? It is quite simple, fortunately!
To start, open Facebook and find any post. Press Comment, then the Smile-shaped button for inserting emojis and stickers, and look for the package with the Avatar stickers.

Once you have selected your package, you will see the Edit Avatar button in the upper right corner. Press down. You are in front of the interface for editing your Avatar. Now press the button at the top right, the arrow-shaped one that goes to the right.
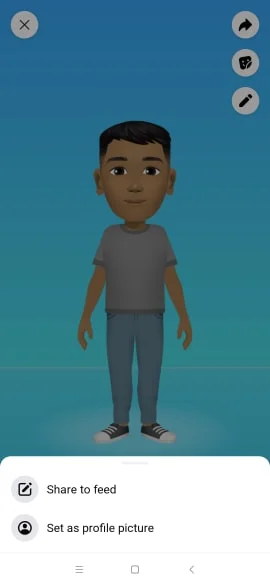
The Set as profile picture button will appear at the bottom. As you may have guessed, that’s what fascinates us. Press down! The application will take you to a new interface that will allow you to choose the position of the Avatar and its background.
At the top, you can also write something about the new profile picture before posting it. This way, a classic post will be published on your timeline that will show the new profile photo with Avatar and what you have made. Once you have chosen everything, simply press Next. In this way, you can set the Avatar as a Facebook profile photo.
How to share Facebook Avatars on Facebook
What if you just want to share one of the stickers you created on your Facebook timeline? It’s a little cumbersome, but it’s possible to do it! First, go to the Facebook menu: it’s the button at the top right, the one with the three horizontal lines.
Here you should find various boxes related to the main sections of Facebook. There should be the one with Avatars written on it, press that. Otherwise, click on Other, and, in the list, you should find Avatars. The interface associated with your Avatar will open. Press the button in the middle of the three that you see at the top right.
The complete list of stickers created based on your Avatar will now open. Now look for the Sticker you want to share on Facebook and hold on it. A menu will open at the bottom relating to sharing the Sticker with two options, Send to Messenger and Other options. We are interested in the second!
By clicking on More options, you will get the option to share the Sticker on various other applications, including the same Facebook. In the sharing menu that will open on your device, look for the Facebook icon. Decide whether to set it as a profile photo, if you want to create a story or if you want to share it in the News section. In the last two cases, you can also write a caption to your image.
Share Facebook Avatars on WhatsApp
We have created a quick guide to use Facebook avatars on WhatsApp. The messaging app still doesn’t support custom sticker packs. Still, you can share individual stickers directly from Facebook on WhatsApp chats. We explain everything here.

