From this guide, you will be able to install the TWRP recovery on Redmi Note 7S and root using the Magisk tool. Unlike the Redmi Note 7 Pro, the younger sibling doesn’t have the official support from TWRP. But our developers aren’t sitting idle; thanks to the XDA Member, thelazyindian, for building an unofficial TWRP recovery for the Redmi Note 7S. Since the Redmi Note 7 and Note 7S shares the same chipset, and the same hardware (except the camera module), you can install this TWRP on both the device. The download link and installation guide for TWRP in Redmi Note 7S are given below; read ahead!

Once you install the TWRP custom recovery, you will be able to flash Magisk ZIP in order to root your phone. We have a detailed guide on installing Magisk as well. Please do not skip reading a single part. Move ahead!
The current build of TWRP for Redmi Note 7S is quite stable with all working functionalities like Multi-language support, MTP, and supports decrypt/data.
But in order to install the TWRP recovery on Redmi Note 7S, you need to unlock the bootloader of your device. Without that, you can’t proceed to this tutorial. If you had already unlocked it, you can skip and proceed ahead. If not, we have a detailed tutorial on how to unlock the bootloader on Xiaomi Redmi Note 7S. Check out the following guide:
- How to Unlock Bootloader on Xiaomi Redmi Note 7S (detailed guide)
Once you are done with the unlocking part, you can get back to this guide and install TWRP on Redmi Note 7S.
Xiaomi Redmi Note 7S comes with MiUI software. The device recently got MiUI 11 update, but still on Android 9. We hope the OEM would release Android 10 for this phone soon. But till then, you can utilize the full potential of your device by rooting. How? Check out the benefits of rooting below!
Benefits of Rooting your Android device
Do you ever wonder why bother with rooting an Android devices that you have? Well, after reading this post, all your questions will be answered. It is true that rooting the Android device will scrap off the warranty that people have on their phones. This is one of the main reasons why people often do not root their devices in the first place.
However, there are many hidden advantages of doing so, and you will agree with us as well. Rooting of an Android devices unlocks the full-on power of the phones and other devices. This also provides some other benefits such as updates, battery saving benefits, deletion of unnecessary things. There are other benefits as well which we shall be discussing here.
Let’s get started then!
Why do you need to Root Android phones and tablets?
Here are some of the benefits that will convince you all about rooting your android devices. However, you do need to be careful while doing so.
Running Custom ROMs
One of the greatest benefits that come with the rooting of the devices is that the user will be able to run the custom ROMs. Why would you install the custom firmware on the phone? Well, because they help in optimizing and improving the entire Android system. Apart from that, the user experience from these modifications is exceptional.
Overclock CPU
We have seen that rooting the PC made it possible to overclock CPU. This is something that is similar to the phones as well. So, the user will be able to boost the CPU’s processing power to a very large extent. As a result, you can get a much smoother and better experience with the Android device that you use. However, there is also the risk of frying up the entire main board, so you need to be very careful while doing that.
Easy movement of applications from Storage to the SD Cards
If you have a budget Android phone, then this benefit will be very useful for you. For example, if anyone doesn’t have much internal storage on their low-budget phone, the apps can be transferred into the SD card very easily if the device is rooted. So, you can very efficiently free up space in the internal storage. Who doesn’t love having a tidied up storage right?
Remove the Bloatware
You can easily get rid of the bloatware that is troubling your phone. So, you can easily control all the applications that are present in the phone. You won’t have to deal with the clutters in the drawers as well. Cutting the bloatware would mean that you will have more memory as well.
Real Backups
Another great thing about rooting the phone or tablet would mean that your backup will be improved and restored very easily. Rooting the device helps your device to back up every single thing that you have on your device and not just the app downloads and some special settings.
There are many different benefits when it comes to rooting the Android device. You will have a longer life for your battery and who can forget about the clean storage, right? Well, why not go ahead and do it then? Root your Android device now to see impressive results.
About Xiaomi Redmi Note 7S
| Network | GSM / HSPA / LTE (Global support) |
| Chipset | Qualcomm SDM660 Snapdragon 660 (14 nm) |
| Memory | 32GB 3GB RAM, 64GB 4GB RAM |
| Primary Camera | 48 MP, f/1.8, (wide), 1/2.0″, 0.8µm, PDAF, 5 MP, f/2.2, depth sensor |
| Front Camera | 13 MP, f/2.0, (wide), 1/3.1″, 1.12µm |
| Display | IPS LCD capacitive touchscreen, 16M colors |
| Size | 6.3 inches, 97.4 cm2 (~81.4% screen-to-body ratio) |
| Resolution | 1080 x 2340 pixels, 19.5:9 ratio (~409 ppi density) |
| OS | Android 9.0 (Pie); MIUI 11 |
| GPU | Adreno 512 |
| Battery | 4000 mAh |
Download TWRP Recovery for Redmi Note 7S
Download the unofficial TWRP Custom Recovery for Xiaomi Redmi Note 7S from the link below. The code name for this device is olive. Make sure to download the latest version only.
- Download: droidfeats-lavender-recovery.img
(droidfeats-lavender-recovery.img is the latest version so far. But keep checking the official page for the most recent version always.)
Download Magisk ZIP for Redmi Note 7S
For rooting, we will be using Magisk Systemless root utility. Download the latest version from the link given below:
[mks_button size=”medium” title=”Download Magisk ZIP” style=”squared” url=”https://droidfeats.com/download-magisk-zip/” target=”_blank” bg_color=”#1e73be” txt_color=”#FFFFFF” icon=”fa-download” icon_type=”fa” nofollow=”0″]Pre-requisite
- Make sure your phone has at least 80 – 85% charge. If not, please do charge it before starting the experiment.
- You need to enable USB Debugging mode to connect your Android phone to computer. (Settings > About Phone > Build number > Tap it 7 times to become developer; Settings > Developer Options > USB Debugging).
- You must install Android SDK tool on your computer.
- Your Redmi Note 7S should have the bootloader unlocked from before. Otherwise, this tutorial won’t work. If your bootloader is still locked, you can try out our detailed guide on how to unlock the bootloader of Xiaomi Redmi Note 7S using the Mi Unlock tool. Once done with the unlocking part, you can get back to this tutorial.
Download Redmi Note 7S USB Driver
Make sure you have correctly installed Xiaomi Redmi Note 7S USB Driver on your computer. If not, please download from any official source and install it correctly. Otherwise, your computer will not detect your device.
→ Download the latest Xiaomi Redmi Note 7S USB Driver
Backup Redmi Note 7S (Warning)
But before starting the tutorial, we suggest you to backup your important documents from the device and make a copy of it to your computer. On performing our experiment, your device will get wiped, and you will lose everything from the phone. We don’t want that. in that case, we have a list of Application that may help you on creating backup within the phone. Later on, you can copy the files to computer for a safe side.
→ Top 10 Best Android Backup Apps – Secure your Data
Once you are sure that you are done with the backup stuff, please proceed to the tutorial below on How to Root Xiaomi Redmi Note 7S quickly.
How to install TWRP and root Redmi Note 7S
We have mentioned the full step-by-step instructions on how to install TWRP and root Redmi Note 7S using Magisk Utility. If you are entirely new to rooting, flashing a Custom ROM or an Official Firmware, please read the entire tutorial once before actually performing it on your device.
Tutorial: How to install TWRP on Xiaomi Redmi 8
- Download all the required files from the above-given links to your device. Also, keep a copy of the TWRP image file on your computer.
- Connect your phone to the computer using compatible USB cable (preferably, the official one, provided by Xiaomi with the phone box).
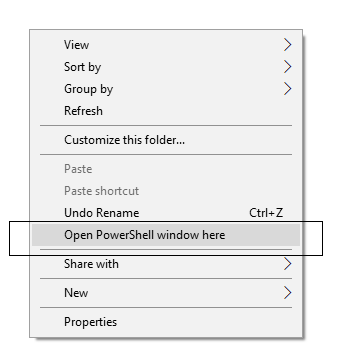
- Open Command Prompt on the same directory as TWRP file. Press the SHIFT key and right-click on an empty space. Select “Open PowerShell window here” or “Open command window here” from the pop-up menu.
- On the PowerShell Window, type the following command and HIT enter:
adb reboot bootloader
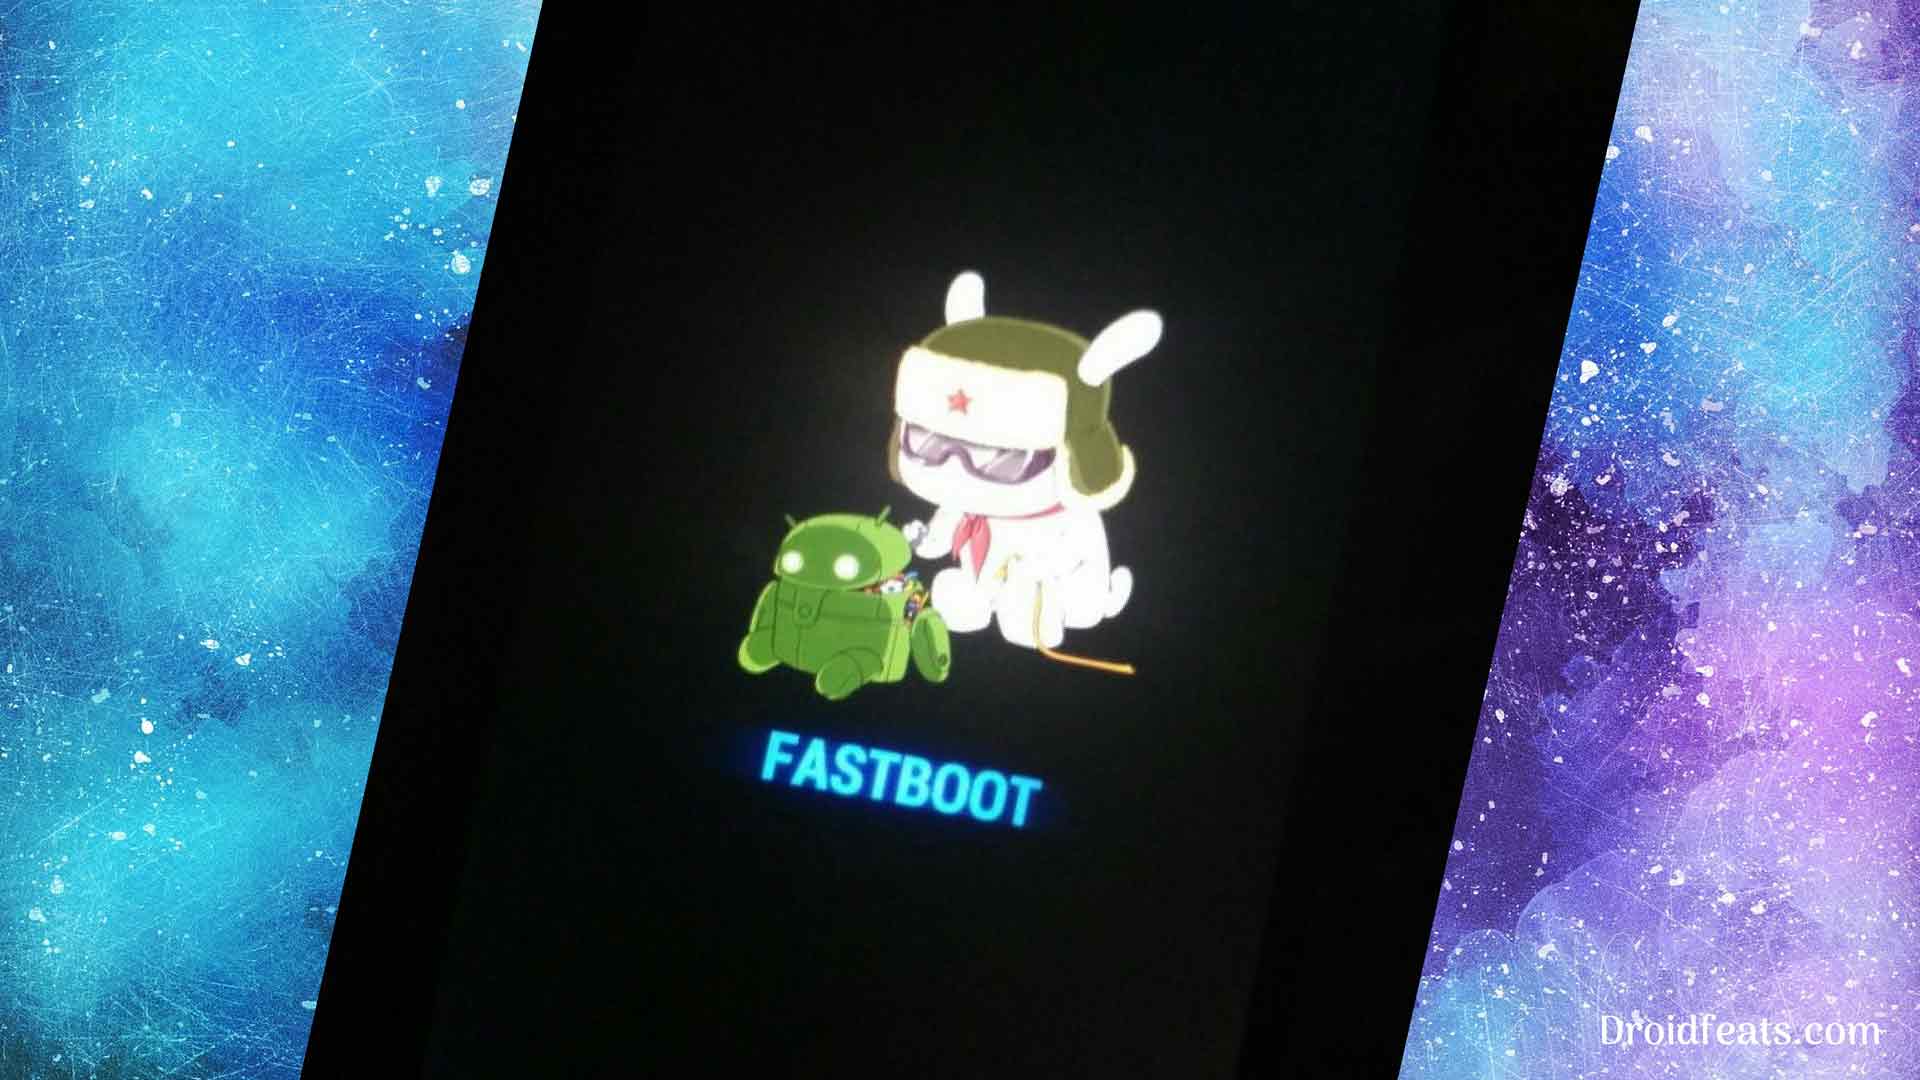
(This will reboot the device into fastboot/bootloader mode.)
└ If you get a permission pop-up on your device to “Allow USB debugging”, tap OK. - Once you are in the fastboot mode, type the following command and HIT enter:
fastboot flash recovery droidfeats-lavender-recovery.img
(The command ends with the file name. If the file name changes in a newer version, type “fastboot flash recovery <your-changed-name here.img”)
- Once the file is flashed, reboot your device! Carefully hold the Volume Up button now. While holding, type the following command and HIT enter to reboot into TWRP recovery.
fastboot reboot
- TWRP Recovery: In order to reboot into recovery mode, use Volume rockers to select “Recovery mode” option and press Power button to select. You will get access to TWRP.
- You will be asked to enter your device Password/PIN/Pattern. Enter it to let system decrypt in recovery mode. If you don’t have any password, it won’t ask.
So, you are done here! No further steps are required for TWRP image file.
Tutorial: How to root Xiaomi Redmi Note 7S
There are two methods to root Xiaomi Redmi Note 7S using Magisk:
- Flash the Magisk ZIP using TWRP recovery.
- Patch the stock boot image of your current firmware and flash it using fastboot.
However, the second method is not recommended for novice users since it is quite tricky. You need to familiarize with the steps before you proceed with it. Both methods are described in our detailed tutorial below:
→ How to install Magisk to root Android devices – Universal Systemless Interface
Once you are done with everything, reboot your phone to the system, and verify root status using this Root Checker App.
Must read: 50+ Best Android apps for rooted device!
Interested on Google Camera port on Xiaomi Redmi Note 7S? Check out our GCam port section from the link below:
So you are done with this tutorial! You had successfully installed the latest TWRP official and rooted Xiaomi Redmi Note 7S using our guide. If you faced any problem with performing this tutorial, please let us know by dropping a comment below. Our team will reply you back as soon as possible.
Is this post helpful? Please do share it on Social Media to THANK US.

![Download Vivo X200 FE GCam Port [Most Compatible Version] Download Vivo X200 FE GCam Port [Most Compatible Version]](https://static.droidfeats.com/wp-content/uploads/2025/07/vivo-x200-fe-in-four-aesthetic-color-options.png-300x179.webp)


![Download Redmi 9a GCam Port [Most Compatible Version] Download Redmi 9a GCam Port [Most Compatible Version]](https://static.droidfeats.com/wp-content/uploads/2025/03/Redmi-9a-GCam-Port-sample-450x245.webp)
![Download Redmi 9 GCam Port [Most Compatible Version] Download Redmi 9 GCam Port [Most Compatible Version]](https://static.droidfeats.com/wp-content/uploads/2025/02/Redmi-9-GCam-Port-450x245.webp)
1 Comment
Install kaisa kare