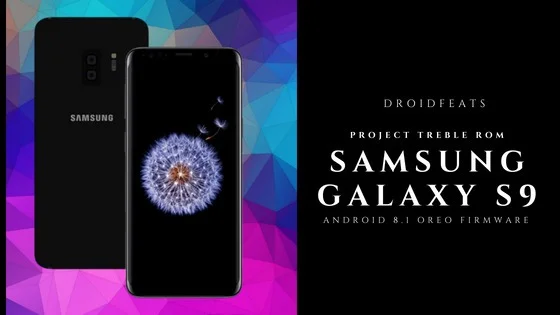
A couple of months ago, the Samsung Galaxy S9 entered in the flagship race of 2018. Its new camera hardware and the upgraded specs to enough to win the heart of fans. Moreover, Samsung’s decision to bring the support for Project Treble is boosting the Android community.
Google offers Project Treble ROM with Android 8.0 Oreo, which makes it easier for the OEMs to build software updates. Project Treble extract the Android OS code from OEM’s hardware. These results reduce the amount of time to create a new software update.

The support of Project Treble ROM for Galaxy S9 is not only making the way for faster update, but also boosting the developers to make more Custom ROMs and improve the compatibility like never before. That’s the reason why Galaxy S9 got Android 8.1 Oreo update so fast (in less then a month since its release). Thanks to the Project Treble for giving such flexibility to this device.
UPDATE: Install One UI Android Pie on Galaxy S9/S9+ [all variant] 9.0 beta
With this guide, you will be able to install Project Treble Android 8.1 Oreo ROM on your Galaxy S9. We have put detailed step-by-step tutorial below, so that a first time user don’t face any problem. But for a safe side, please make sure to backup everything before proceeding to the tutorial, because no one knows when something goes wrong.
Samsung users can use Samsung Smart Switch to backup data on the computer. Smart Switch even allows the users to move data from one device to another of different variant (like moving data of Galaxy S7 to Galaxy S8).
Once you are sure that you have completely backed up your data, install Project Treble ROM Android 8.1 Oreo on Galaxy S9. All the download links are given below — read ahead and grab them all to start the tutorial.
TWRP Recovery for Galaxy S9
Before starting the tutorial, we would like to let you know that flashing this ROM requires TWRP Custom Recovery. Make sure to have it from before in order to install Project Treble. If not, use this guide:
→ Install TWRP [latest] on Samsung Galaxy S9/S9+ Custom Recovery
Please not that, on installing TWRP, you may need to unlock the bootloader which would void the warranty of your device.
Follow this tutorial: How to Root Samsung Galaxy S9 and S9 Plus [all variant]
Samsung Galaxy S9 USB Driver
Make sure you have correctly installed Galaxy S9 USB Driver on your computer. If not, please download it from our USB Driver Section below and install it correctly. Otherwise, your computer will not be able to detect your device.
Things to Remember
- Make sure your phone has at least 80 – 85% charge. If not, please do charge it before starting the experiment.
- This tutorial will WIPE OUT all your DATA. Make sure to create a Backup of everything before starting the tutorial.
- Make sure your device has TWRP Custom Recovery installed from before. Otherwise, this tutorial will not work!
- You need to perform a Dalvik Cache wipe in recovery mode before installing the ROM.
- You need to enable USB Debugging mode to connect your Android phone to computer. (Settings > About Phone > Build number > Tap it 7 times to become developer; Settings > Developer Options > USB Debugging).
How to install Project Treble ROM Android 8.1 on Galaxy S9
We have mentioned the full step-by-step instructions on How to install Project Treble Android 8.1 Oreo ROM. If you are entirely new to rooting, flashing a Custom ROM or an Official Firmware, please read the entire tutorial once before actually performing it on your device.
Note: Rooting your phone is not mandatory to get Project Treble ROM installed on your device.
TUTORIAL: (Step by Step Guide)
- Download Project Treble ROM Android 8.1 Oreo for Samsung Galaxy S9 on your computer.
- Now, connect the device to your PC using the USB cable (preferably, the official one, provided by Samsung with the phone box).
- Copy and paste the downloaded img file to the internal storage of your phone.
- Switch Off your phone and disconnect the cable.
- Press and hold [Volume Down] + [Power Button] together to enter into the recovery mode!
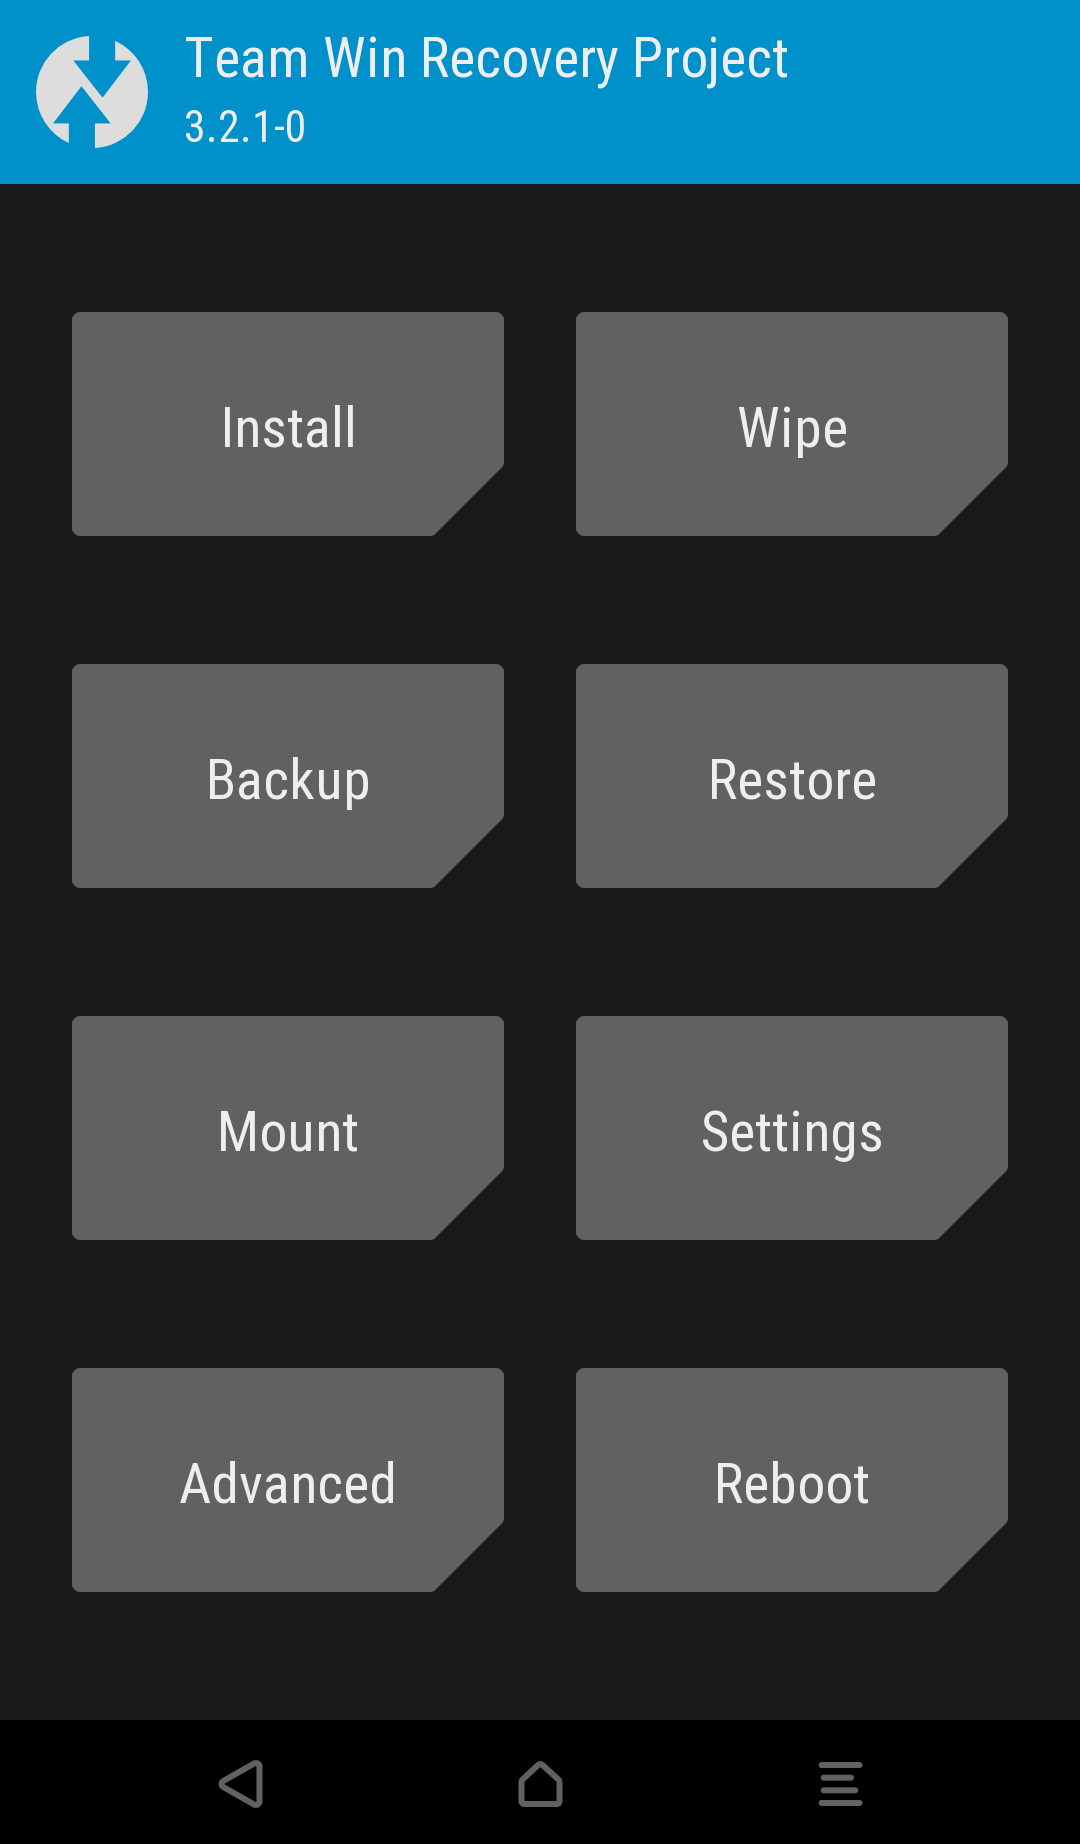
- Once you are in the TWRP recovery mode, perform a full data wipe by tapping on “WIPE” Button. Also, perform a factory reset by swiping on the “Swipe to Factory Reset” option at the bottom.
- Go back to main menu (TWRP Home) and tap on “Install” button. From the list, choose the img file (system-arm64-aonly-gapps-su.img) that you have copied in Step 3.
- Confirm the installation by swiping the “Swipe to Confirm Flash” option on the next screen.
- Now, tap on the “Wipe cache/dalvik” button to clean the ROM and stay away from any boot loop issues.
- Hit on “Reboot System” button!
Wait a while, and your phone may take up to 10 minutes to boot for the first time.
Hurray! Your Samsung Galaxy S9 should have got Project Treble Android 8.1 Oreo ROM installed by now. Go to Settings > About phone to verify.
Additionally, you can now try out some of the best Android Launcher on your new operating system.
Is the Project Treble Android 8.1 on Galaxy S9 clean and minimalist user interface? Does it look good on your eyes, or you would like to stick on the Samsung’s stock Experience 9.0 UX? What’s your opinion? Do comment below!


6 Comments
You are aware that you cannot unlock the bootloader on the S9 Plus, right?
Enynox variant of Galaxy S9 has unlocked bootloader. The problem is with the US variant only.
Is this the reason why I never see OEM unlock in my Enynox S9 even after waiting for 1 month? I bought it from Singapore. Does it mean its already factory OEM locked?
What’s your device model number?
There is no point of looking for OEM unlock in a Snapdragon variant. Please check Setting > About phone and let me know your device model number.
I’m the first time Samsung owner.
I like the S9 system software extras. I think they are part of Samsung UX though I’m not sure, maybe its just Oreo that is new to me. If I upgrade to 8.1 Project Treble, what is it that I lose with the Samsung UX, what does it include?
Project Treble is AOSP based naked OS. So, you won’t get Samsung UX in that ROM.