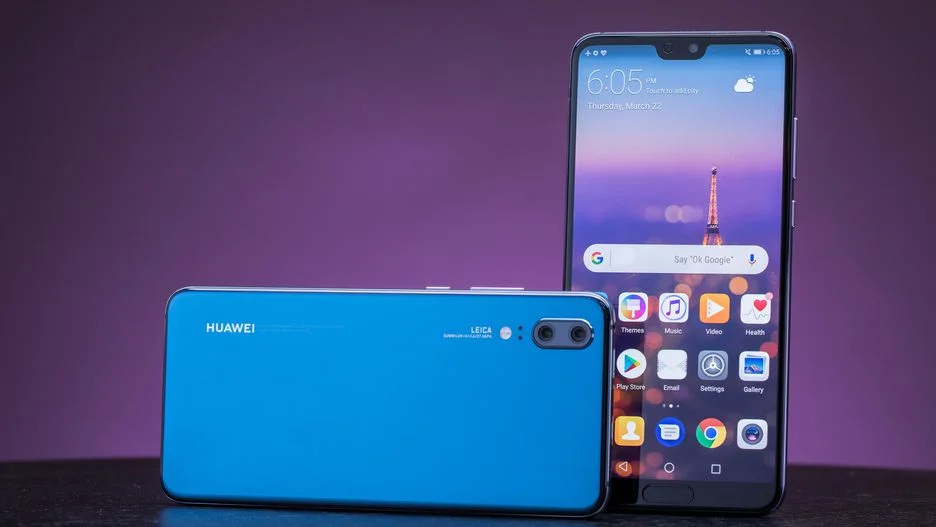
In this post, we will guide you on how to root Huawei P20 Pro, P20 lite, and P20 with some easy step-by-step tutorial. Huawei entered to the flagship device business, a giant leap with the release of P20 series. Backed by the premium hardware, a home crafted software with a heavy EMUI 8.0 skin, the Huawei P20 series is set to be a strong contender for Samsung Galaxy S9/S9 Plus and Google Pixel 2.
Meanwhile, the Android developers have already figured out the way to do something more with the Huawei P20, P20 Pro, and P20 lite. You can now install TWRP custom recovery and root your Huawei P20 device.

The entire tutorial is below, that will take you through step by step process.
How to root the Huawei P20 Pro, Huawei P20, and Huawei P20 Lite
This may be a quite lengthy process if you are playing with the TWRP for the first time. To be able to root the Huawei P20, P20 Pro, and P20 lite, you need to Unlock the bootloader of the phone. This requires a code request from Huawei.
Unlocking bootloader also erases everything from the phone. So make sure to create a full backup before proceeding to the tutorial.
Pre-requisites
- Install ADB and Fastboot driver.
- Enable USB debugging: (Settings > About Phone > Build number > Tap it 7 times to become developer; Settings > Developer Options > USB Debugging).
- TWRP for Huawei P20 (model no. EML): [click here]
- TWRP for Huawei P20 Pro (model no. CLT): [click here]
- Ramdisk IMG file for Huawei P20 Lite (model no. ANE): [click here]
That’s it! Now read the tutorial below and root Huawei P20.
[alert-warning]WARNING: All the custom ROMs, Official Firmware, How-to guides, tutorials, roots, hacks, and tricks mentioned on our site belong to the respective developers. We are not responsible if anything goes wrong with your device. Perform it at your own risk.[/alert-warning]Step 1: Unlock Bootloader on Huawei P20, P20 Pro, and P20 lite
In order to install TWRP and root Huawei P20, Huawei P20 Pro, and Huawei P20 lite, you need to unlock the bootloader first. But remember, in doing so, your device warranty will get void automatically. Click the link below to do that.
→ How to Unlock Bootloader on Huawei P20 [all variant] — official method
Step 2: Install TWRP Custom Recovery
- Connect your phone to the computer using compatible USB cable (preferably, the official one, provided by Huawei with the phone box).
- Open Command Prompt on the same directory as TWRP file. Press the SHIFT key and right-click on an empty space. Select “Open PowerShell window here” or “Open command window here” from the pop-up menu.
- On the PowerShell Window, type the following command and HIT enter:
adb reboot bootloader
(This will reboot the device into fastboot/bootloader mode.)
- Once you are in the fastboot mode, type the following command and HIT enter:
fastboot flash ramdisk <twrp-recovery-filename.img>
(For example: If the file name is TWRP_P20_0.1.IMG, type “fastboot flash ramdisk Huawei-P20-Lite-root-patched_ramdisk.img”)
- Once the file is flashed, reboot your device using the following command:
fastboot reboot
- Once the process is complete, your Huawei P20 lite will boot up with root access via Magisk. You can verify the root access using the root checker app from Google Play Store.
So, Huawei P20 lite users, you are done here! No further steps are required for P20 lite users because root patch is included with the image file.
But Huawei P20 and P20 Pro users, you only have TWRP recovery. You need to flash SuperSU ZIP file in order to get root access. See the set of next instruction to get it.
How to flash SuperSU on Huawei P20 / P20 Pro to gain root access
- Download SuperSU ZIP file on your computer.
- Copy and paste the downloaded file to the internal storage of your phone.
- Open Command Prompt: Press the SHIFT key and right-click on an empty space. Select “Open PowerShell window here” or “Open command window here” from the pop-up menu.
- On the PowerShell Window, type the following command and HIT enter:
adb reboot recovery
This will boot your device into recovery mode!
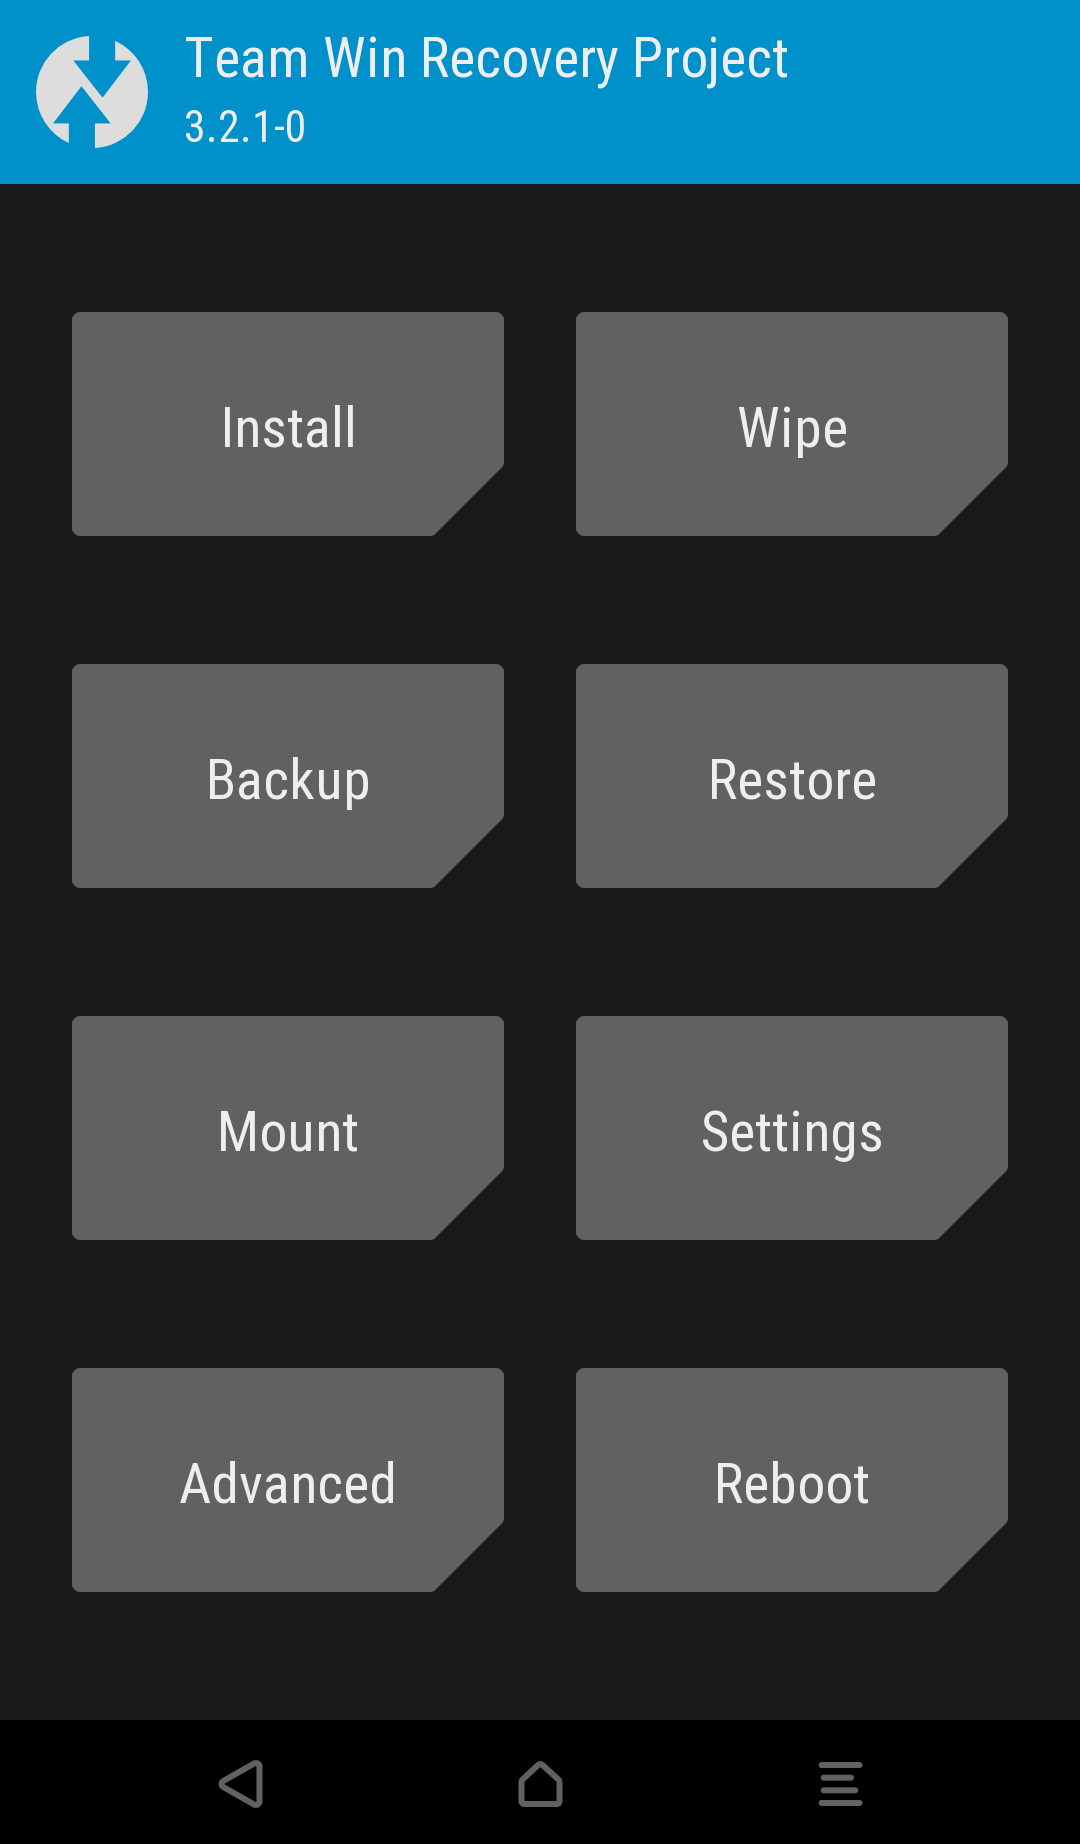
- Once the device boot into recovery mode, you can see the TWRP interface as shown in the screenshot below:
(Skip the system modifications.) - Tap on “Install” button. From the list, choose the zip file that you have copied in Step 2.
- Confirm the installation by swiping the “Swipe to Confirm Flash” option on the next screen.
- Now, tap on the “Wipe cache/dalvik” button to clean the device OS and stay away from any boot loop issues.
- Hit on “Reboot System” button!
That’s it! Your device is fully rooted now. You can verify it using any root checker app from Play Store.
You can now take the advantage of Magisk modules or mods like ViPER4Android, and Xposed Framework on your device. Rooting gives full access to the system, which means, you can now modify the system software, the way you want.
Hope our guide was helpful to you! In case you have any query, let us know in the comment section below.


7 Comments
HI, I have Huawei P20, and I deleted my photos accidentally. Is there a way to get them back? I used a program called disk digger, but it says, to get high-quality photos I need root access. By rooting my phone, will it wipe everything?
If your device bootloader is already unlocked, you may not lose everything on just rooting.
Hi Saeed,
How can I check this? I had this phone since June this year, and my network provider is Vodafone.
Thanks again!
You did not unlock the bootloader of your phone yourself, right?
Then you will lose everything in the phone on unlocking bootloader, which is must before rooting.
In that case, this article may help you to backup your valuable data: Top 10 Best Android Backup Apps.
Thanks for the info!
Most Welcome Anwar Haque!
The flash command for TWRP is not correct.
fastboot flash recovery_ramdisk
is the right one?