This guide will help you to install TWRP and Root Redmi 5 Plus / Redmi 5 using Magisk or SuperSU. Xiaomi’s latest Redmi 5 and Redmi 5 Plus are the two killer smartphone that rules low-end budget handset of 2018. If you are looking to customize your phone, and want to access some root apps, this guide will be perfect for you!
You would be glad to know that the official support of TWRP Custom Recovery for Redmi 5 and Redmi 5 Plus is available. This also opens the window to root the device using Magisk or SuperSU.

However, in order to Root Redmi 5 or Redmi 5 Plus, you need to unlock the bootloader first. After that, you can install TWRP custom recovery, and flash either SuperSU or Magisk to root the device.
See also: Official Galaxy S9 wallpapers, themes, sounds and apps [port] — download them here
Android users usually demand root access in order to enable extra features and customization for their devices. While at times, this is also done to apply patches or eliminate certain limitations.
Note the things that you would be able to do after rooting Xiaomi Redmi 5 and Redmi 5 Plus:
- Increase your device performance using custom kernels
- Install Custom ROMs and get the latest version of Android.
- Enhance your Android Sound system by modifying with ViPER4Android — the most famous sound mod.
- Modding the device using various Xposed Module.
- Get access to all the apps that need root access.
Related: Download the Redmi Note 5 (Pro) [full resolution] Stock Wallpapers
[alert-warning]WARNING: All the custom ROMs, Official Firmware, How-to guides, tutorials, roots, hacks, and tricks mentioned on our site belong to the respective developers. We are not responsible if anything goes wrong with your device. Perform it at your own risk.[/alert-warning]Compatibility
The tutorial below is only for Xiaomi Redmi 5 and Redmi 5 Plus (renamed from Redmi Note 5). Please don’t try with any other variant of Xiaomi device.
Downloads
- rosy – TWRP for Redmi 5 (Official)
- vince – TWRP for Xiaomi Redmi 5 Plus (Official)
Xiaomi Redmi 5 Plus USB Driver
Make sure you have correctly installed Xiaomi USB Driver on your computer. If not, please download it from our USB Driver Section below and install it correctly. Otherwise, your computer will not be able to detect your device.
[mks_button size=”medium” title=”Download Xiaomi USB Driver” style=”squared” url=”https://droidfeats.com/android-usb-drivers-windows-mac/” target=”_blank” bg_color=”#1e73be” txt_color=”#FFFFFF” icon=”fa-download” icon_type=”fa” nofollow=”0″]Backup your Android Device
We don’t want you to lose any data, or anything could go wrong unexpectedly. Before starting the tutorial, we strongly recommend you to make a full backup of your phone. You can try out some of the hand-picked Android Backup Apps to secure your data quickly.
See also: Download OnePlus 5T Official Wallpapers — Sandstone White, Lava Red editions
Things to Remember
- Make sure your phone has at least 80 – 85% charge. If not, please do charge it before starting the experiment.
- This tutorial will WIPE OUT all your DATA. Make sure to create a Backup of everything before starting the tutorial.
- You need to enable USB Debugging mode to connect your Android phone to computer. (Settings > About Phone > Build number > Tap it 7 times to become developer; Settings > Developer Options > USB Debugging).
How to Install TWRP recovery on Redmi 5 and Redmi 5 Plus
- To install TWRP custom recovery on your Redmi 5 / Redmi 5 Plus, you need to unlock the bootloader first. In that case, go to the Xiaomi Unlock page and follow the instructions. You may need to register an account for this, as Xiaomi will send you the unlock code to the email ID.
- Download the TWRP image file for your device from above.
- Now, setup ADB and Fastboot on your computer.
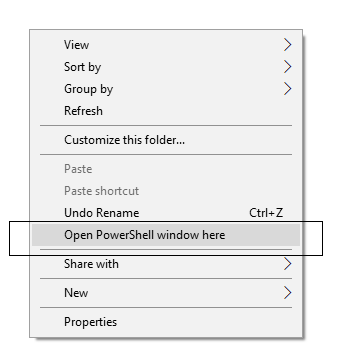
- Open Command Prompt on the same directory as TWRP file. Press the SHIFT key and right-click on an empty space. Select “Open PowerShell window here” or “Open command window here” from the pop-up menu.
- Now reboot your device into fastboot mode: Press and hold [Power] + [Volume Down] button for 7-10 second till the MI bunny mascot appears on the screen. If not work, try holding [Home] + [Volume Down] + [Power] buttons together.
- Now, connect your phone to the computer using compatible USB cable (preferably, the official one, provided by MI with the phone box).
- Check your device screen, and if it asks for “Allow USB debugging,” accept it by tapping on “Yes/OK.”
- Next, on the PowerShell Window, type the following command and HIT enter:
fastboot flash <twrp-recovery-filename.img>
(For example: If the file name is twrp-3.2.1-0-rosy.img, type “fastboot flash twrp-3.2.1-0-rosy.img”)
- Finally, reboot your device using the following command:
fastboot reboot
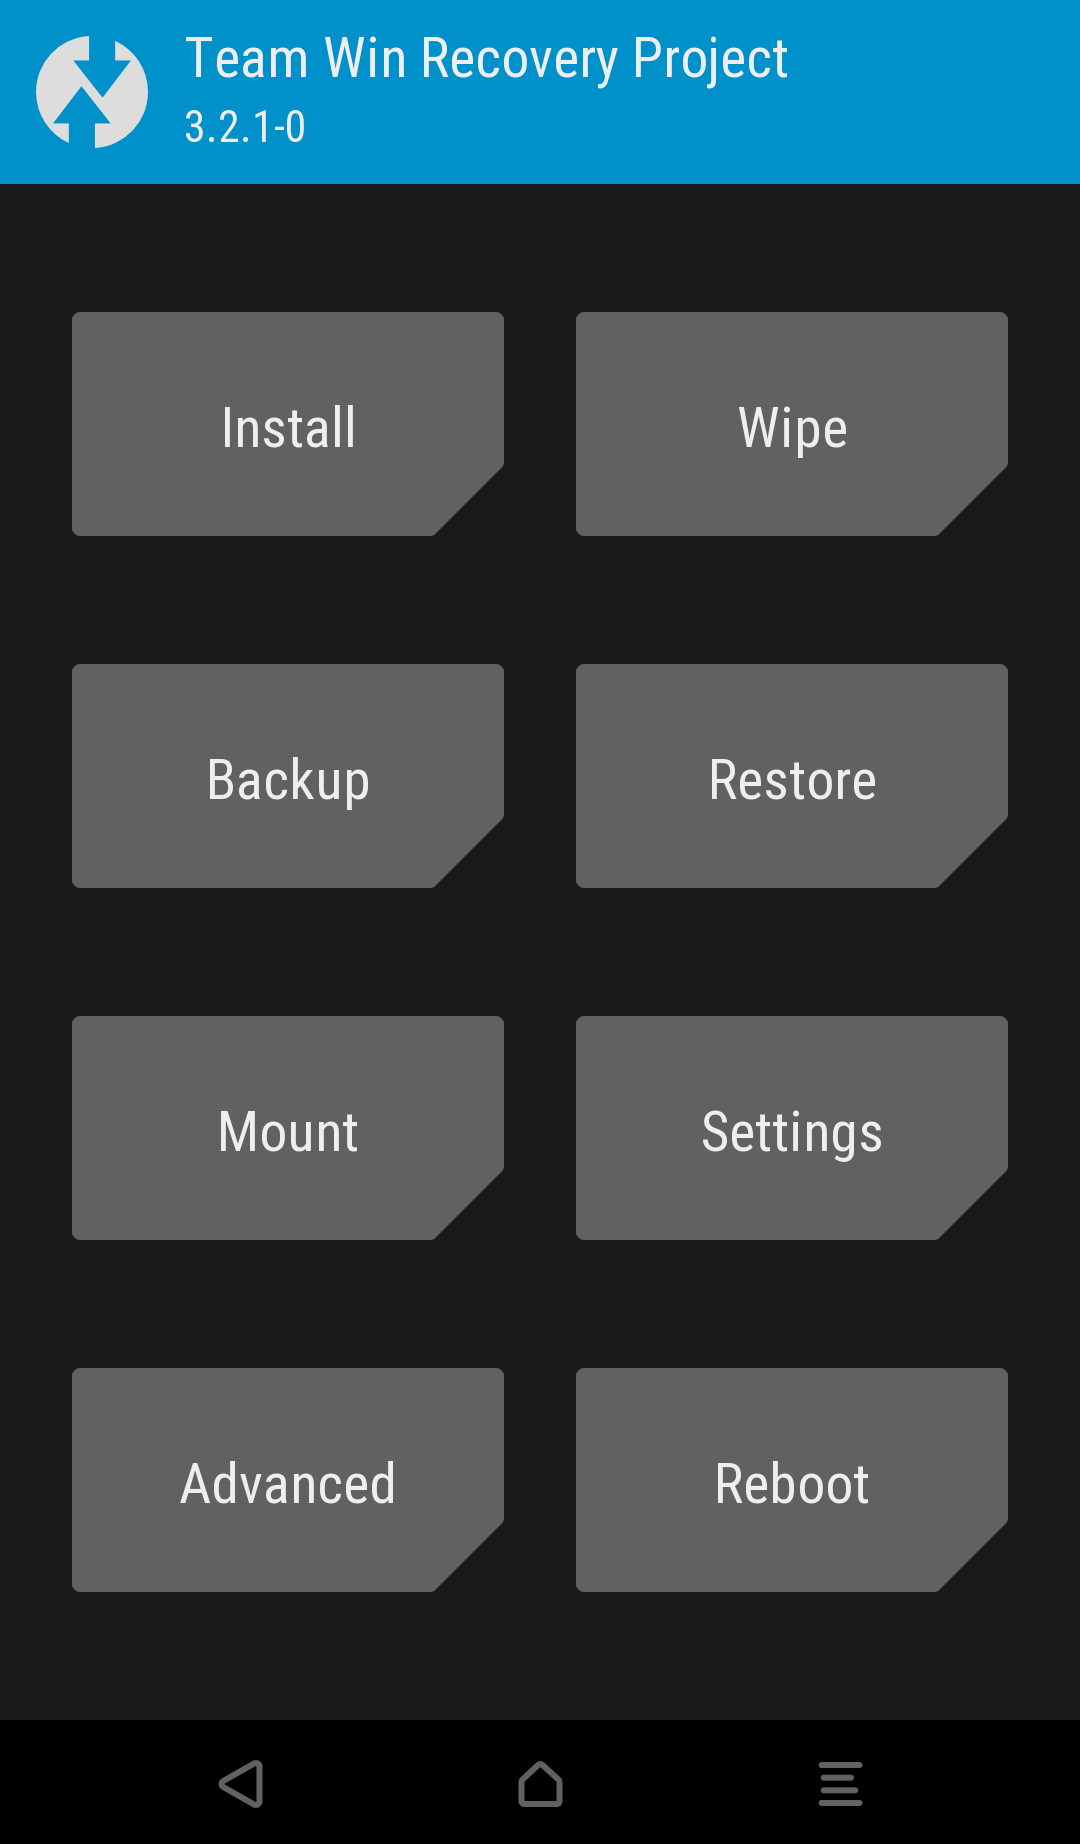
That’s it! You are done! TWRP custom recovery has been successfully installed on your Xiaomi Redmi 5 / Redmi 5 Plus (Redmi Note 5). Reboot into recovery mode to confirm!
If your device is connected to the PC, type the following command and HIT enter:
adb reboot recovery
You will be reboot into TWRP recovery!
How to root Redmi 5 Plus and Redmi 5
There are two methods to root Redmi 5 and Redmi 5 Plus. One is using SuperSU and another using Magisk. Magisk is more reliable as it offers lots of customizations with modules. You can also hide the root when needed (in case of the app like Android Pay). While SuperSU by Chainfire simple root the device.
Method #1: Root Xiaomi Redmi 5 / Redmi 5 Plus using Magisk
- Download the latest Magisk ZIP file on your computer.
- Now, connect the device to your PC using USB Cable.
- Copy and paste the downloaded zip file to the internal storage of your phone.
- Now, follow this guide [use Method #1]: Install Magisk Universal Systemless Interface.
That’s it! Your Redmi 5 / Redmi Note 5 is now successfully rooted. Enjoy systemless root with Magisk!
Method #2: Root Xiaomi Redmi 5 / Redmi 5 Plus using SuperSU
- Download the latest SuperSU ZIP file on your computer.
- Now, connect the device to your PC using USB Cable.
- Copy and paste the downloaded zip file to the internal storage of your phone.
- Switch Off your phone and disconnect the cable.
- Press and hold [Volume Up] +[Power] buttons together, and wait for 15 seconds (approx.) to enter into the recovery mode!
- Once you are in the TWRP recovery mode, tap on “Install” button. From the list, choose the SuperSU ZIP file that you have copied in Step 3.
- Confirm the installation by swiping the “Swipe to Confirm Flash” option on the next screen.
- Now, tap on the “Wipe cache/dalvik” button to clean the ROM and stay away from any boot loop issues.
- Hit on “Reboot System” button!
Wait a while, and your phone may take up to 10 minutes to boot for the first time.
Hurray! Your Redmi 5 / Redmi 5 Plus is now successfully rooted.
If you encounter any problem, please comment below, and we will get back to you as soon as possible.
Please don’t forget to share if you have found this post helpful!


![Download Redmi 9a GCam Port [Most Compatible Version] Download Redmi 9a GCam Port [Most Compatible Version]](https://static.droidfeats.com/wp-content/uploads/2025/03/Redmi-9a-GCam-Port-sample-450x245.webp)
![Download Redmi 9 GCam Port [Most Compatible Version] Download Redmi 9 GCam Port [Most Compatible Version]](https://static.droidfeats.com/wp-content/uploads/2025/02/Redmi-9-GCam-Port-450x245.webp)
2 Comments
My device is stuck as boot. What to do next?
I have a Huawei P20 lite, and when I download the image file on my windows laptop, a popup tell me that the file is corrupt. Can you help?