In this guide, you will be able to root your Samsung Galaxy S8+ Snapdragon Editions (SM-G955U and SM-G955U1) using SamFAIL software. A detailed tutorial is given below, read ahead.

When it comes to rooting, the Snapdragon variant of Samsung Galaxy devices always lags because of its factory locked bootloader. So, the US users always stay in the dark in term of rooting the device. Unlike the Exynos Editions, you can not install Magisk or SuperSU directly on Snapdragon variant to root. We had already posted the rooting tutorial of Galaxy S8 Plus Exynos on Nougat as well as Oreo last year, using CF-Auto-Root and Magisk respectively. But you can not do the same with the US Edition of Galaxy S8 Plus.
Nonetheless, there is a different procedure with which you can easily root your Galaxy S8 Plus (SM-G955U and SM-G955U1) Snapdragon models.
Of course, it’s too late, but at least there is a method now to root this device. Thanks to the developer behind it, we can use SamFAIL software to root Snapdragon Variant Galaxy S8+ (SM-G955U and SM-G955U1).
SamFAIL software is nothing but a pre-rooted firmware for Samsung Galaxy S8 Plus (SM-G955U and SM-G955U1) where SuperSU is pre-installed with some added features. Along with the root access, you can enjoy other goodies like Xposed Framework, Dolby Atmos and more which are pre-installed in the SamFAIL software.
Additional features included in SamFAIL
SamFAIL is an Android 7.0 Nougat-based Firmware for Galaxy S8 Pus US Edition, which is tweaked with SuperSU and some other features as follows:
- Pre-rooted with the latest SuperSU
- System Can Still Flash OTA Update zips
- SafeStrap Recovery PreLoaded
- Xposed Framework can be flashed
- Safetynet Passes
- Samsung Pay, Pass, Secure Folder Working
- Samsung Cloud Enabled
- Places Tab Enabled
- Spam Caller Id Enabled
- Call Recording Enabled
- Native Status Bar Speed Meter Enabled
- Custom Boot Animation
Love the features? We love it too, and we know you are looking forward to root your Snapdragon variant Galaxy S8 Plus.
As you continue reading below, we will guide you to install SamFAIL Android 7.0 Nougat firmware on Galaxy S8 Plus (SM-G955U and SM-G955U1). We have written this tutorial carefully so that a first time user don’t get stuck in any step.
[alert-warning]WARNING: All the custom ROMs, Official Firmware, How-to guides, tutorials, roots, hacks, and tricks mentioned on our site belong to the respective developers. We are not responsible if anything goes wrong with your device. Perform it at your own risk.[/alert-warning]Download SamFAIL Firmware for Samsung Galaxy S8 Plus (SM-G955U and SM-G955U1)
You can download the SamFAIL Android 7.0 Nougat firmware file for Galaxy S8+ Snapdragon from the link given below. The firmware is for U4XXXX (Bootloader rev4) and U5XXXX (Bootloader rev5).
Backup Tips
Before proceeding to the tutorial to install, we strongly recommend you to backup your important data and files from your phone. Because flashing a firmware will erase everything from your device. We don’t want you to lose anything by following our tutorial. In that case, you can check out our list of backup app that may help you:
| → Top 10 Best Android Backup Apps – Secure your Data |
Samsung users can use Samsung Smart Switch to backup data on the computer. Samsung Smart Switch even allows the users to move data from one device to another of different variant (like moving data of Galaxy S8 to Galaxy S9).
Once you are sure that you made a complete backup of your necessary documents, you can move ahead to the tutorial below and update Galaxy S8+ US model to Android 7.0 Nougat SamFAIL Firmware with the latest SuperSU.
Tools that required for firmware installation
- Odin flash tool: Download Samsung’s Odin flash tool here.
- Samsung USB driver: Download Samsung USB Driver.
- USB Cable: You must have the official USB cable of your device – the one that provided by Samsung.
HOW TO: Root Galaxy S8+ Snapdragon using SamFAIL firmware
We have mentioned full step-by-step instructions on how to root Galaxy S8 Plus Snapdragon using SamFAIL firmware. If you are entirely new to rooting, flashing a Custom ROM or an Official Firmware, please read the entire tutorial once before actually performing it on your device.
- Download the latest Odin and SamFAIL firmware from the above-given link and extract them on an easily accessible location on your computer.
- Switch OFF your Galaxy S8 Plus.
- After that, press and hold Volume Down + Bixby + Power button together until a warning is shown on display.
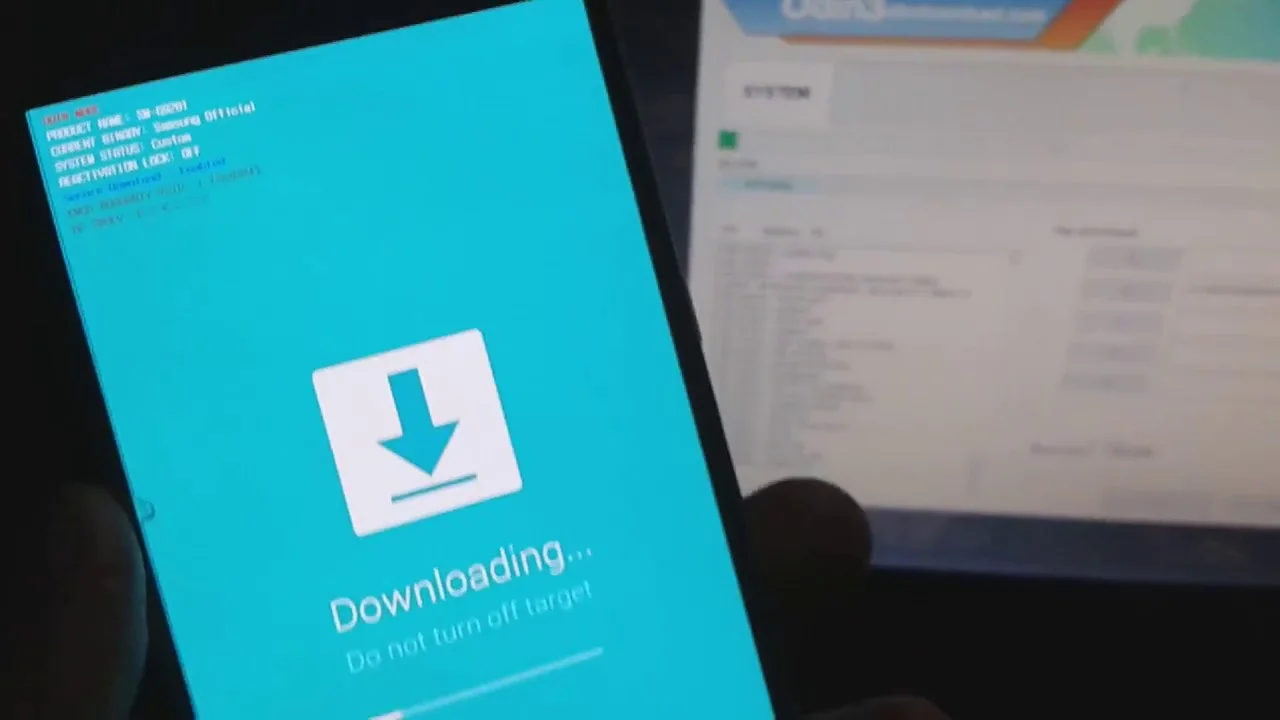
- Using the Volume rocker, navigate to Odin / Download mode and hit the power button to enter to the Download mode.
- Connect your Galaxy S8 Plus to your computer using the USB cable (preferably with the one provided by Samsung out of the box).
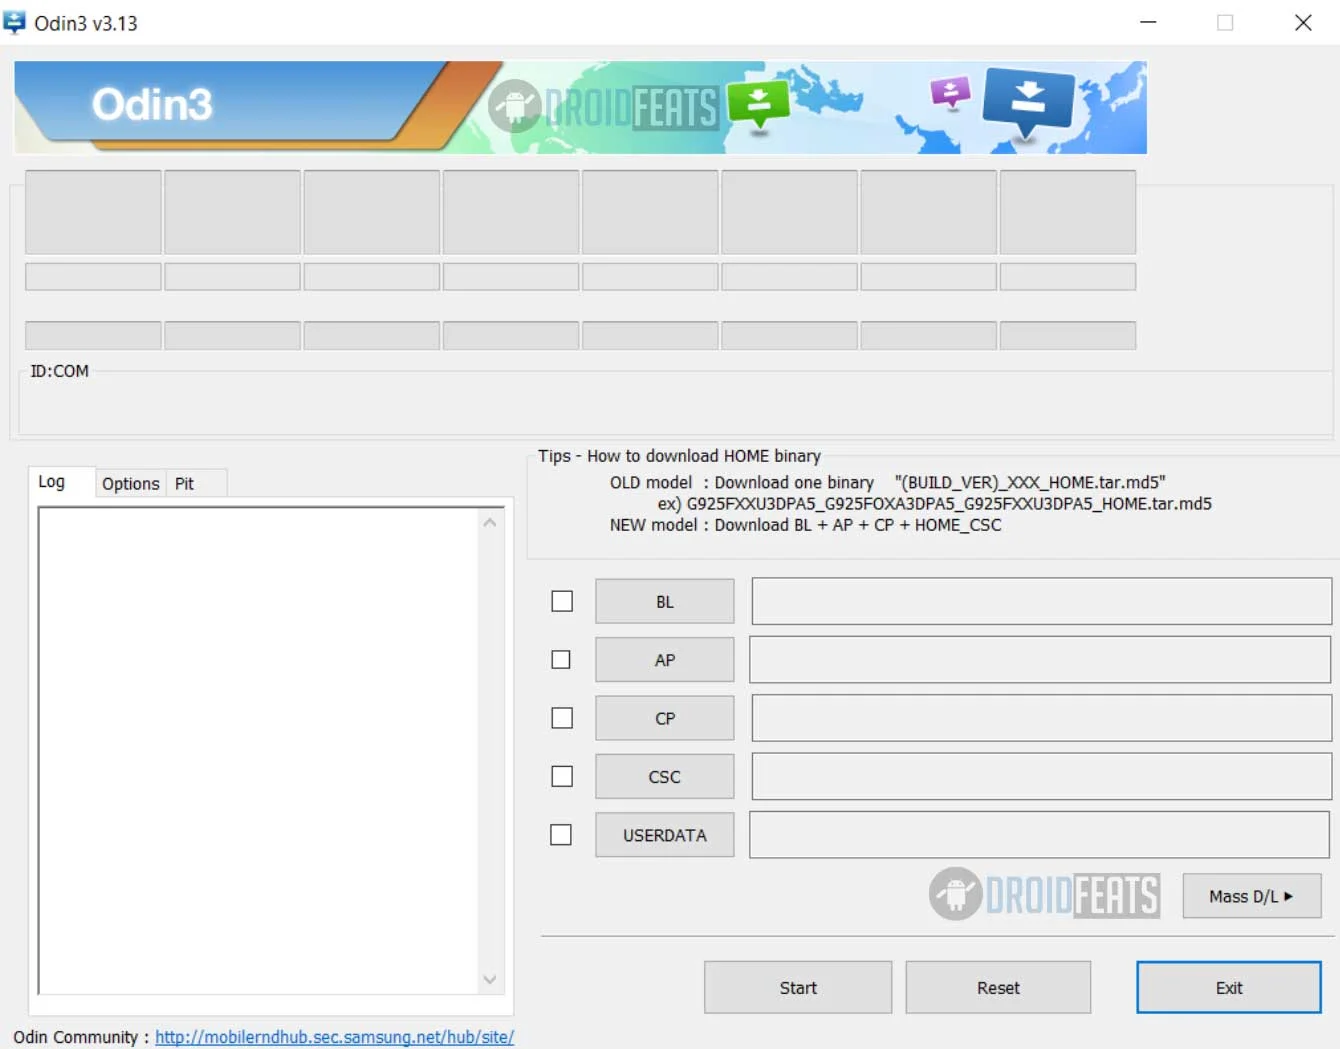
- Open Odin on your computer and connect your device while in download / Odin mode.
- Odin must recognize your phone. If your computer detects the phone correctly, one of the ID:COM boxes will turn yellow with the COM port number. You will see “Added!!” message is appearing in the Log box. This might take some minutes.
- Click on ‘BL’ and select file with ‘BL_V4_PART_1.tar‘ OR ‘BL_V5_PART_1.tar’ in its name (based on the bootloader version 4 or 5 on your device).
- HIT the Start button in Odin, and your installation should start now! Hold on; it will take a couple of minutes to complete.
- Once completed, the phone will get shout down. Press and hold Volume Down + Bixby to enter Download mode again.
- Click on ‘AP’ and select file with ‘AP_SYSTEM_IMG_PART_2.tar’ in its name.
- HIT the Start button in Odin, and your installation should start now! Hold on; it will take a couple of minutes to complete.
- Once completed, it will show a “FAIL” message on the screen. But don’t worry.
- Now, your Galaxy S8+ will reboot automatically. Again, press and hold Volume Down + Bixby button to re-enter Download mode.
- Check the following options in Odin:
→ Auto Reboot
→ F. Reset Time - Click on ‘AP’ and select file with ‘BL_V4_PART_3.tar‘ OR ‘BL_V5_PART_3.tar’ in its name (based on the bootloader version 4 or 5 on your device).
- Finally, HIT the Start button in Odin and your installation should start now! Hold on; it will take a couple of minutes to complete.
- Once the installation is complete, your phone will reboot. Unplug your device and you are done!
Hurray! Your Galaxy S8+ Snapdragon has been rooted using SamFAIL firmware.
If you got stuck somewhere, drop your comment below, and we will help you as soon as possible.
Once you install the pre-rooted SamFAIL firmware on your Galaxy S8 Plus, you are done with the rooting. Restart the phone, and you will be able to get access to root files.
You can check your root status with any root checker app from the Play Store:
You can try out some best root app, Xposed modules on Oreo, or you can even try Magisk modules to modify your device in the way you like.
In case you want to unroot your device and get back to Samsung official firmware, you can follow this guide:
Is this post helpful? Do LIKE us on the Facebook page to THANK and stay tuned with the latest updates on your social timeline.


10 Comments
Thanks for this post. Looks like if I had waited twelve hours I could have done this method as I just followed the directions on another site, using the same Samfail vulerability except using a 7.1 Android build.
These instructions look to be almost the same except using the 8.1 build – also using the safestrap recovery (I used the instructions at Custom Droid Website).
Question, if I simply wanted to move from the current 7.1 Android build and move to the 8.1 build you have listed here, but already have the safestrap in place? What steps wouldn’t omit to install the newer Oreo build?
You don’t need to omit any steps here. Since this is an Odin flashable firmware, you don’t need to worry about firmware versions.
Ran through this procedure and learned alot. One of the things I learned is you don’t really have a clue what you wrong about here. There is no root for Android 8.1 on Samsung. This article isn’t even about rooting – it’s about putting a custom 7.0 Android rom with Samsung Experience (TouchWiz) v8.1 The device can be exposed and exploited in such a way where you can do some cool tweaks, but not a rooted phone and certainly not a phone running Android.
Hello Thomas Mc
Sorry, I had mistakenly mentioned it as Android 8.1 Oreo. It is Android 7.0 Nougat rooted ROM. You can check the root status using any root checker app from the Play Store.
In case, you want a latest rooted ROM; you can go for PartCyborg Custom ROM available in this XDA thread.
PartyCyborg Custom Rom is also not a Oreo based rooted rom. There is no publicly available rooted Rom available for S8+ based off Oreo 8.0 or above Android versions.
Yeah, true!
We are eagerly waiting for the Oreo and Pie update. Hope the developer community will release a rooted firmware based on Android 8.0 or above soon.
Does this program work for 9.0 oreo ?
4. Using the Volume rocker, navigate to Odin / Download mode and hit the power button to enter to the Download mode.
my question is how can I navigate to odin after warning sign, I mean I just pressed both volume up and down yet no response! any help please
Hello sir, can I root my s8+ which is Android 9 pie to rooted nougat 7( I mean downgrading)?
If you want to downgrade, you need to download the official firmware from Samsung and flash using Odin tool.