Officially, there is no plan for Android Pie on Moto G5 Plus. Even though the Moto G5 Plus is one of the best budget smartphones till now, it’s quite disappointing that Motorola doesn’t have any plan for updating this device. The device had already got one major update in Android 8.0 Oreo, and Pie is out of topic now.
But, that doesn’t mean that you can’t install Android Pie on Moto G5 Plus. The unofficial route is open now! Thanks to the strong XDA Developer community for this great support, bringing Android 9 Pie on Moto G5 Plus. You can enjoy the taste of Android 9.0 Pie on your device via custom ROM, let’s see below!
Related: Roadmap: Android P update for all supported devices [list and release date]

Moto G5 Plus Android 9 Pie update
- The official update won’t be coming into this device.
- Unofficially, you can update it using custom ROM.
Official update
We are sorry to say; this device is not eligible for official Pie update. But another door is open for you as an unofficial route.
Unofficial update
The Custom Firmware based on AOSP Android 9.0 Pie is available for Moto G5 Plus. It is the ArrowOS custom ROM that brings the major system update unofficially, with all the Pie features, which gives you the full taste of Android 9.0 Pie OS.
Download Android 9 Pie for Moto G5 Plus
- ArrowOS custom ROM
- VoLTE fix (required with this ROM)
- Android 9 Pie GApps
Note: This ArrowOS is compatible only with Moto G5 Plus. Please do not try with Moto G5, Moto G5S, Moto G5S Plus or any other Android device.
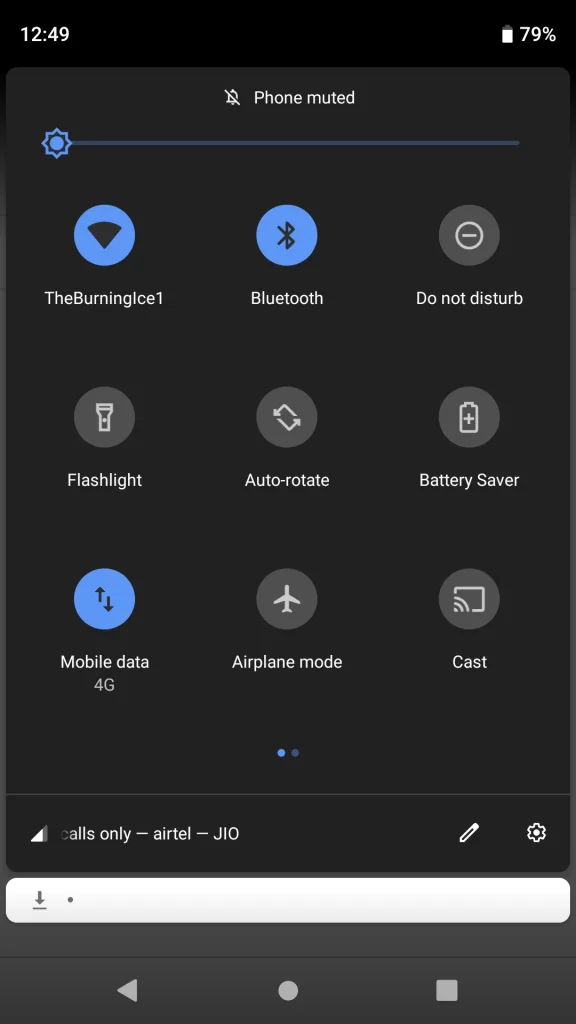
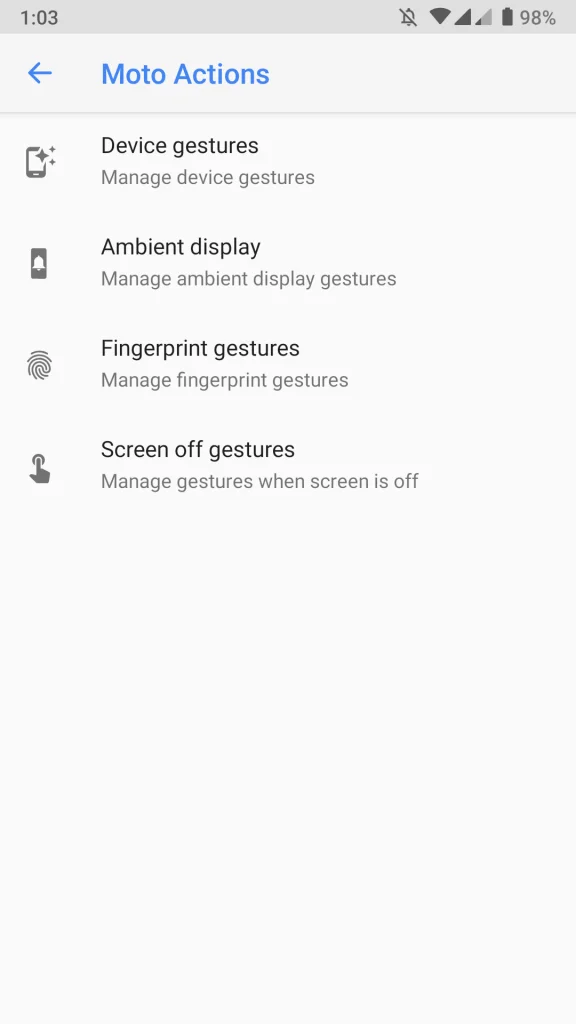
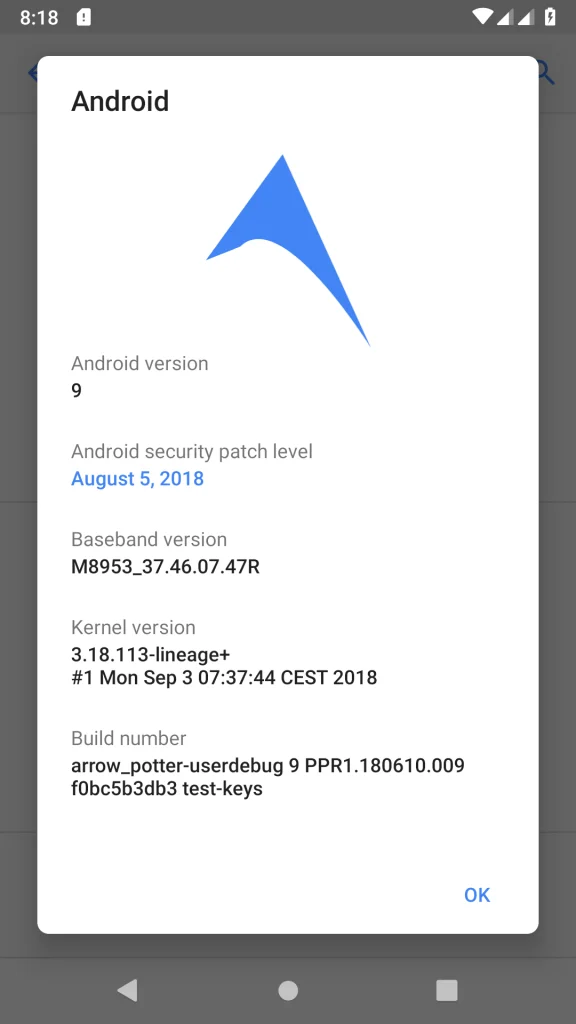
Screenshots
TWRP for Moto G5 Plus
Since the firmware is not an official rollout by Motorola, the stock recovery won’t work here. So, in order to install Android 9.0 Pie on Moto G5 Plus, you must have a custom recovery like TWRP installed from before. In that case, you also have to unlock the bootloader of your phone. If your device doesn’t have a custom recovery, and bootloader is not unlocked, please do that first and get back to this tutorial.
This guide might help you: How to install TWRP Recovery [latest] on any Android device
Backup before starting the tutorial
This guide will wipe out all the applications, data, and system files from your device. So, we strongly recommend you to backup your important files before starting the tutorial. Check out:
If possible, please create a full Nandroid backup image from TWRP. This will help if the installation fails. You can restore to the previous OS with data.
Once you are sure that you have backup your device, please proceed to the installation tutorial below. But before that, please check out the prerequisite ahead.
Pre-requisite
You must be having the following requirements to be fulfilled before you head down to the tutorial below.
- Make sure your phone has at least 80 – 85% charge. If not, please do charge it before starting the experiment.
- This tutorial will WIPE OUT all your DATA. Make sure to create a Backup of everything before starting the tutorial.
- You need to perform a Dalvik Cache wipe in recovery mode before and after installing the ROM.
- You need to enable USB Debugging mode to connect your Android phone to computer. (Settings > About Phone > Build number > Tap it 7 times to become developer; Settings > Developer Options > USB Debugging).
How to install Android 9 Pie on Moto G5 Plus
We have mentioned full step-by-step instructions on how to install Android 9 Pie on Moto G5 Plus. If you are entirely new to rooting, flashing a Custom ROM or an Official Firmware, please read the entire tutorial once before actually performing it on your device.
TUTORIAL: (Step by Step Guide)
- Download the ArrowOS, VoLTE fix, and GApps from the above-given links for Moto G5 Plus on your computer.
- Now, connect the device to your PC using the USB cable (preferably, the official one, provided by Motorola with the phone box).
- Copy and paste the downloaded zip file to the internal storage of your phone.
- Switch Off your phone and disconnect the cable.
- Press and hold Volume Down and Power Button together to enter into the recovery mode!
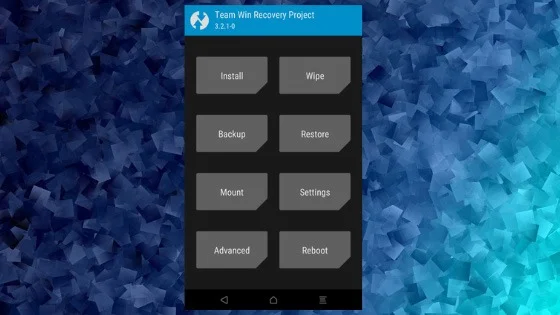
- Once you are in the TWRP recovery mode, perform a full data wipe by tapping on “WIPE” Button. Also, perform a factory reset by swiping on the “Swipe to Factory Reset” option at the bottom.
- Go back to main menu (TWRP Home) and tap on “Install” button. From the list, choose the zip file that you have copied in Step 3.
- Confirm the installation by swiping the “Swipe to Confirm Flash” option on the next screen.
- Now, tap on the “Wipe cache/dalvik” button to clean the ROM and stay away from any boot loop issues.
- Google Apps and VoLTE fix: Repeat the same steps for GApps and VoLTE fix too (Step 7 to Step 9).
- Hit on “Reboot System” button!
Wait a while, and your phone may take up to 10 minutes to boot for the first time.
That’s all. You are done!
Additionally, if you would like to root your device, you can try Magisk Systemless root solution from the link below:
→ How to install Magisk to root Android devices – Universal Systemless Interface
- How to Install Dolby Atmos on Android [all devices] – explained everything!
- [Stable] Download MX Player Custom Codec — AC3, DTS, MLP, TrueHD, and more
- Install Official ViPER4Android Audio Effects
- Official Galaxy Note 9 wallpapers, sounds, apps and fonts [port] — download ’em here
What’s your views on this ArrowOS Custom ROM? Please do share in the comment section below.
So you are done with this tutorial! You had successfully installed Android 9.0 Pie on Moto G5 Plus using our guide. If you faced any problem with performing this tutorial, please let us know by dropping a comment below. Our team will reply you back as soon as possible.


![Best custom ROM for POCO F1 (Android 10 based) in 2021 [Tested] Best custom ROM for POCO F1 (Android 10 based) in 2021 [Tested]](https://static.droidfeats.com/wp-content/uploads/2020/11/Resurrection-Remix-450x270.jpg.webp)
![Install Android 10 BERYLLIUM Havoc OS 3.x on Poco F1 [Custom ROM] Install Android 10 BERYLLIUM Havoc OS 3.x on Poco F1 [Custom ROM]](https://static.droidfeats.com/wp-content/uploads/2020/10/BERYLLIUM-Havoc-OS-450x253.jpg.webp)

1 Comment
Hi,
I followed the instructions but it loads arrows OS, then asks for a password (“toor”), confirms the password is correct and says that the partition is corrupted and that I should perform a factory reset. Unfortunately, it doesn’t solve the problem.